Bathroom Update

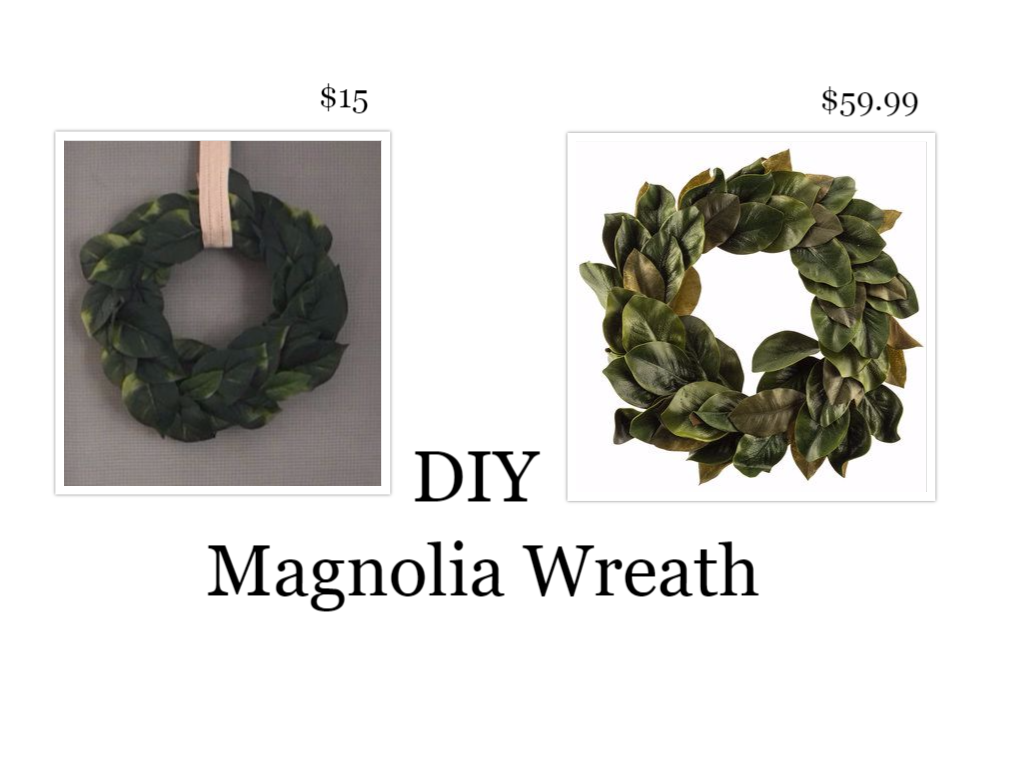
Happy 2018! I can't believe it's already the new year! I have so much planned for the year, new projects, more home decor inspiration, lifestyle and fashion, a little bit of everything! 

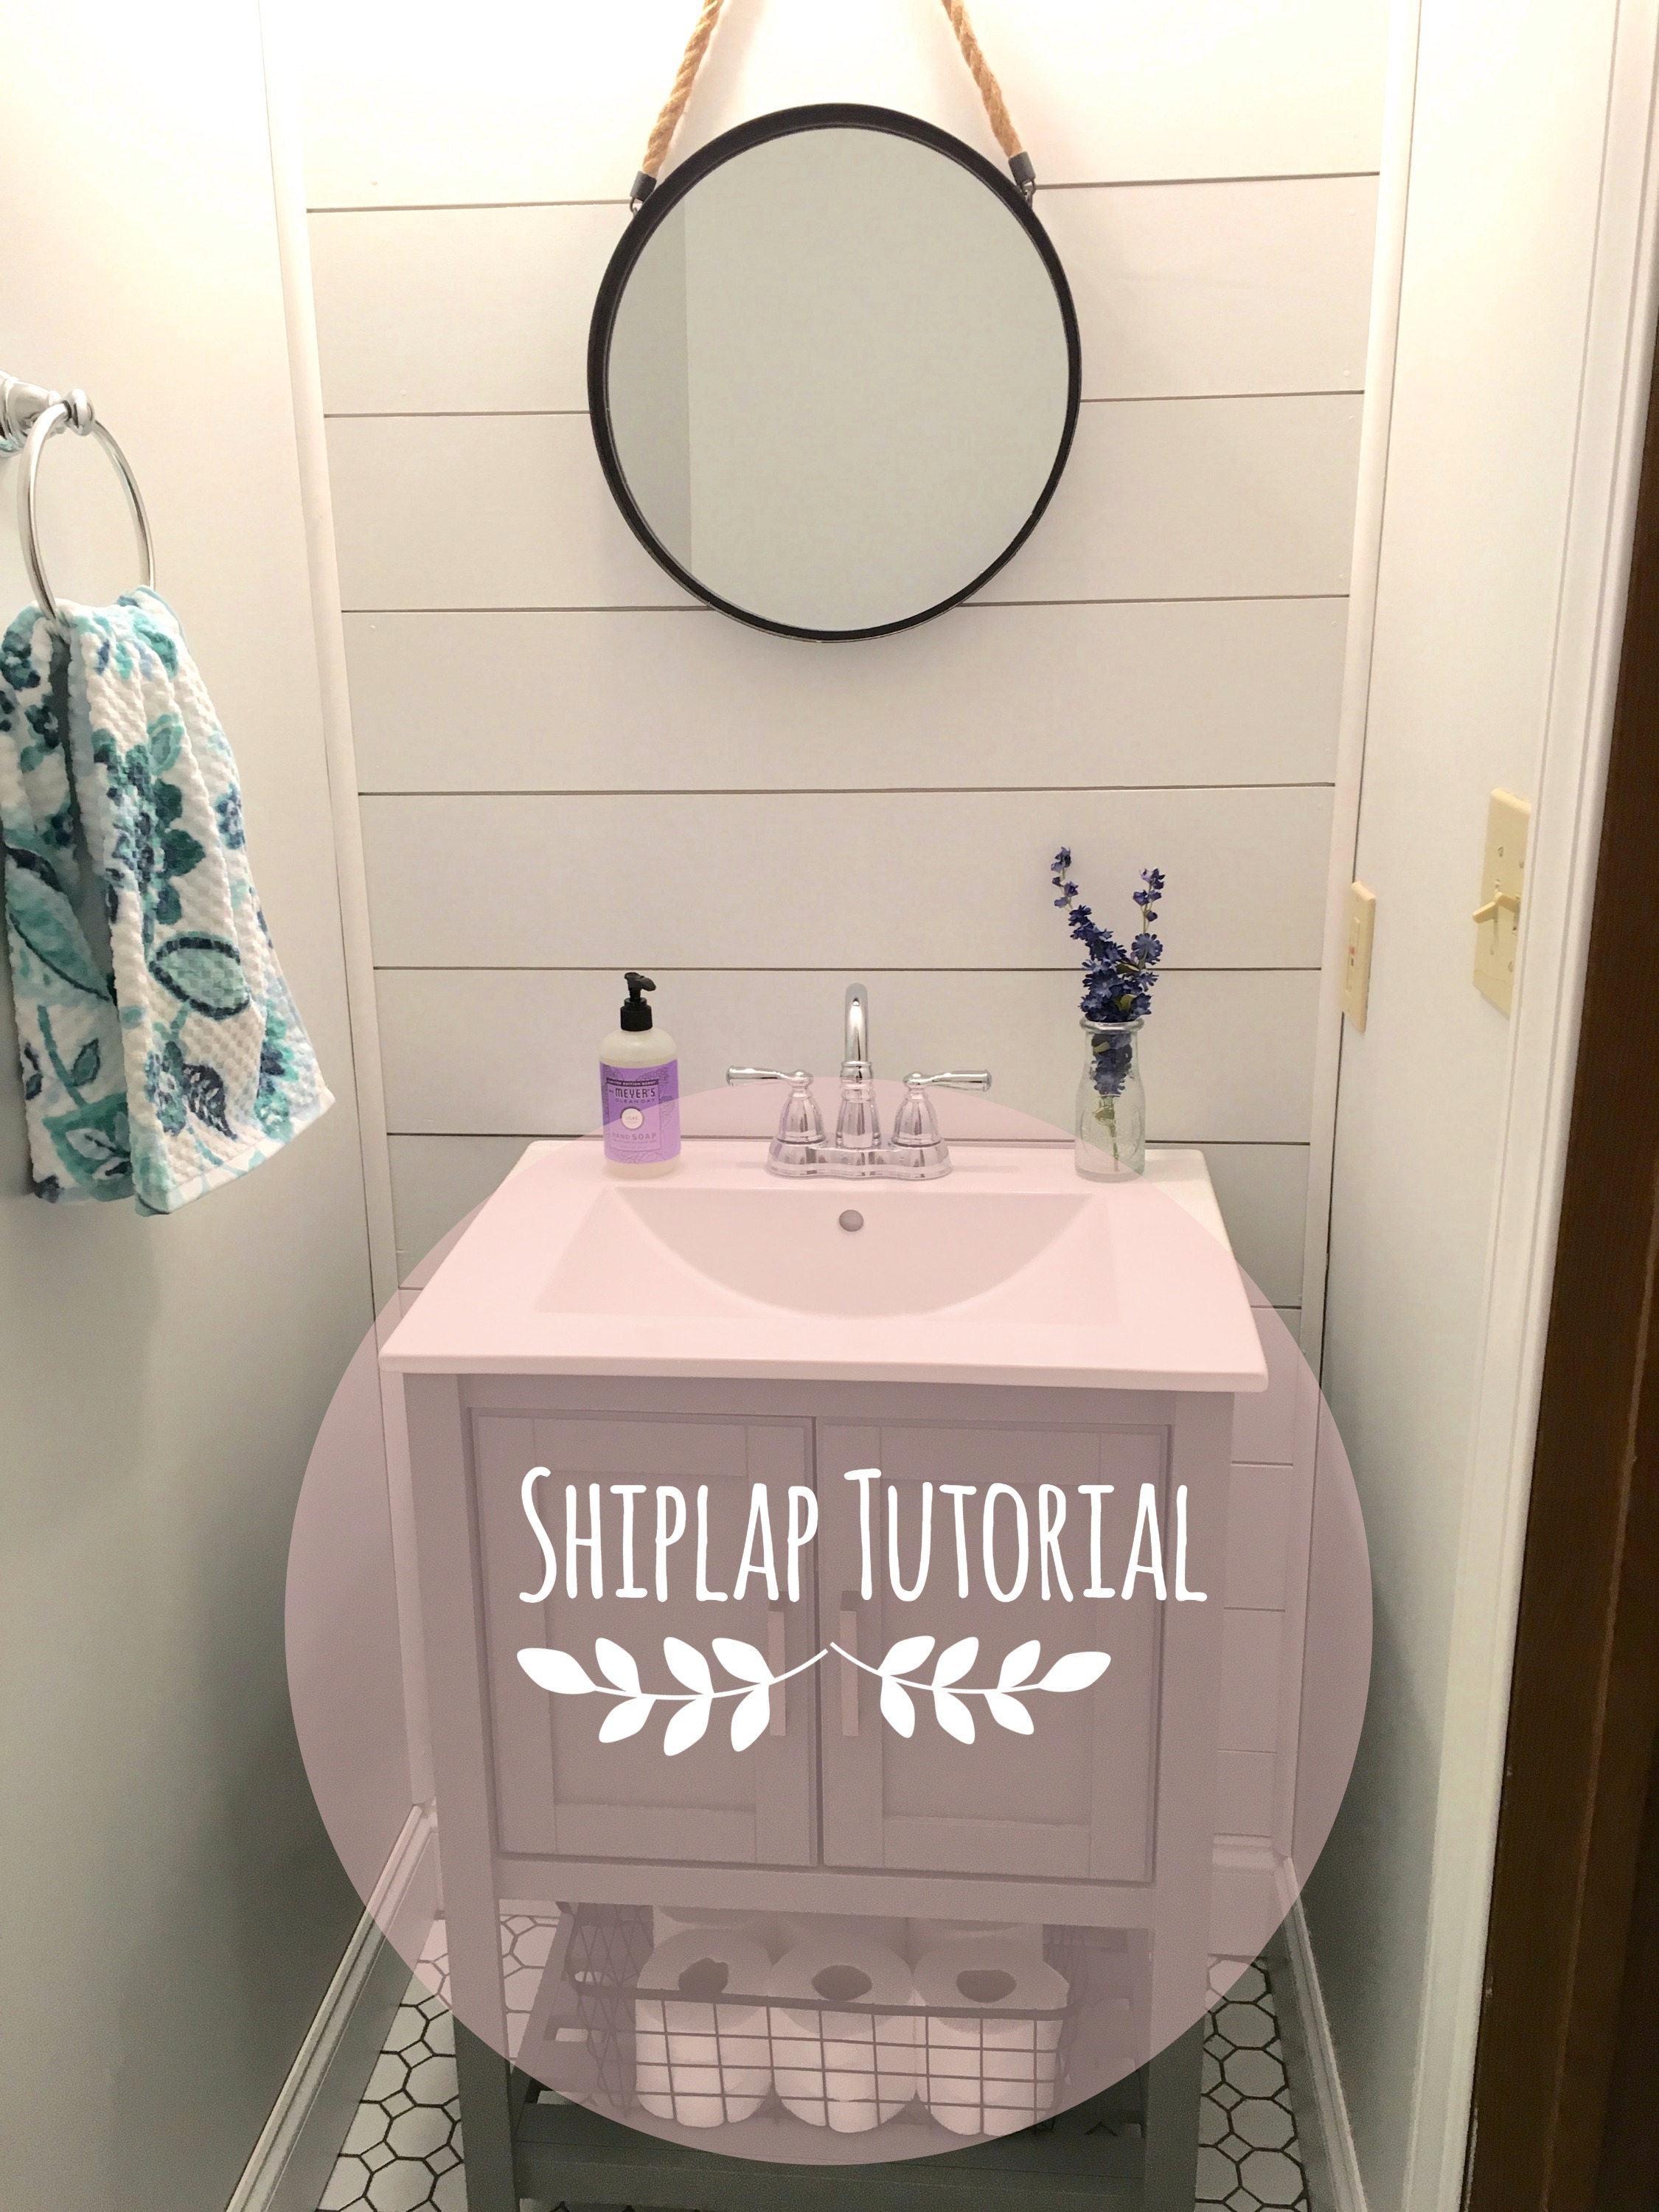
So with that said, I want to do an update on our bathroom remodel. It's not finished but I wanted to share some progress photos.

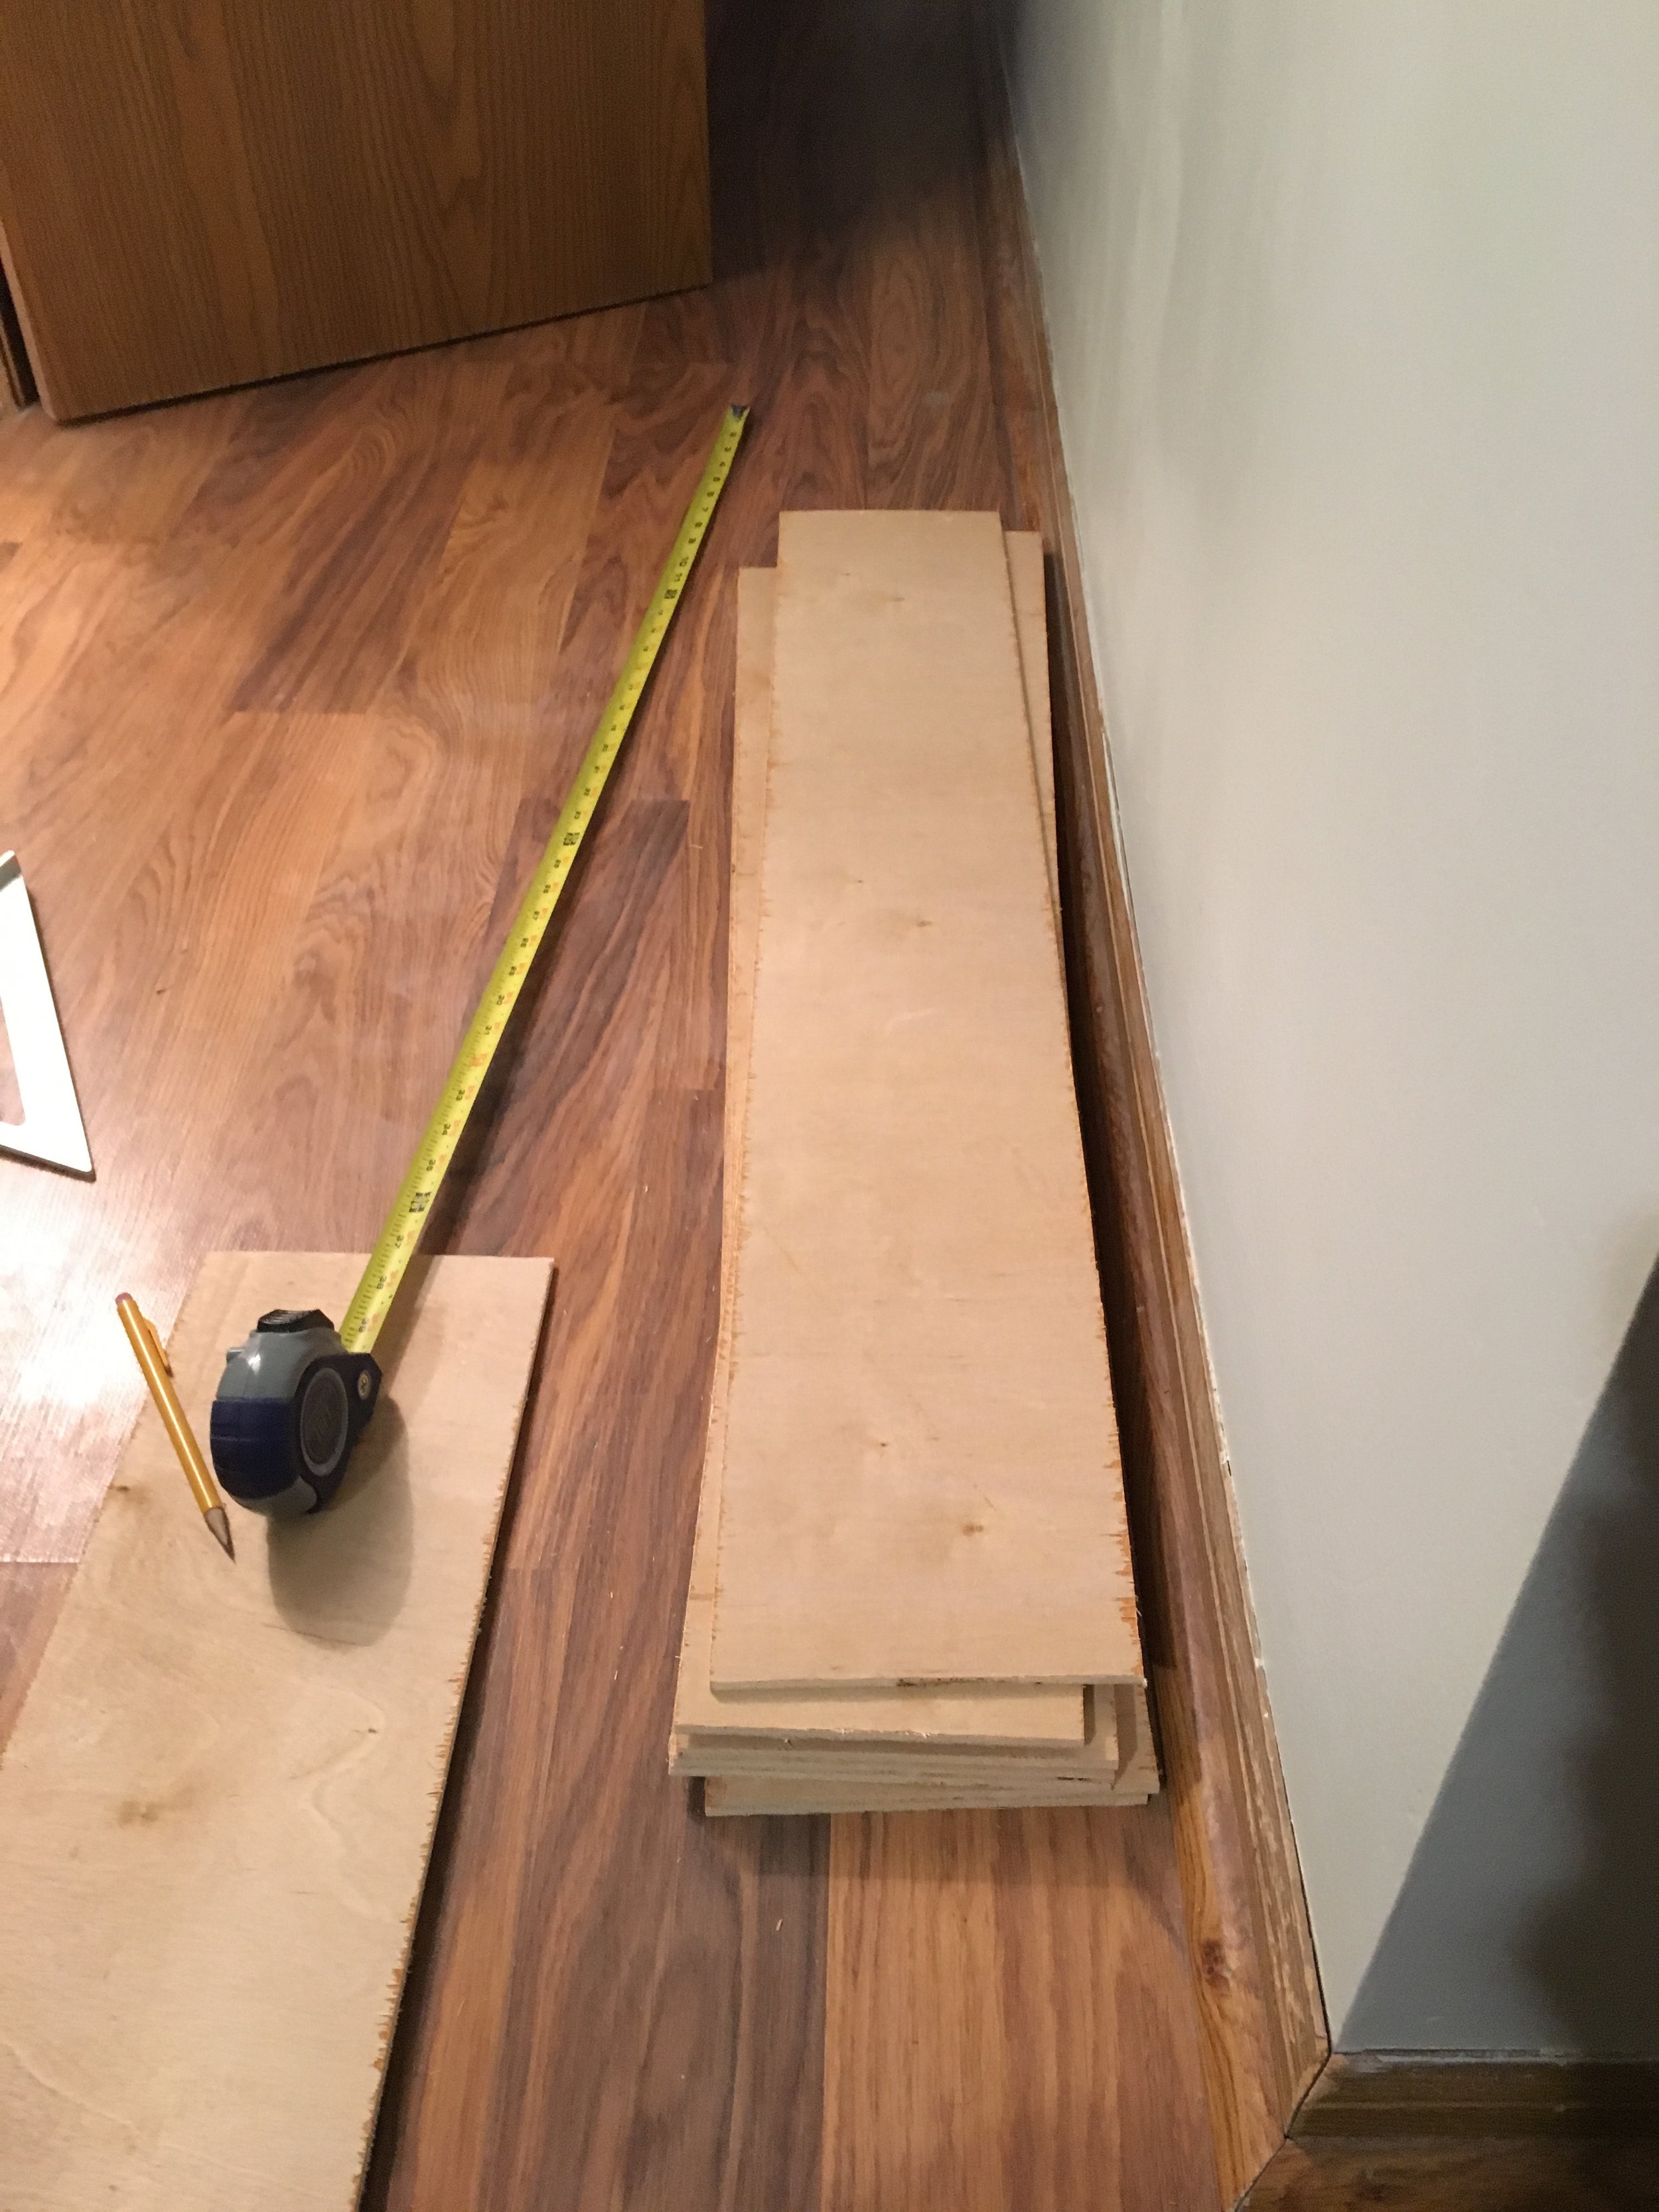
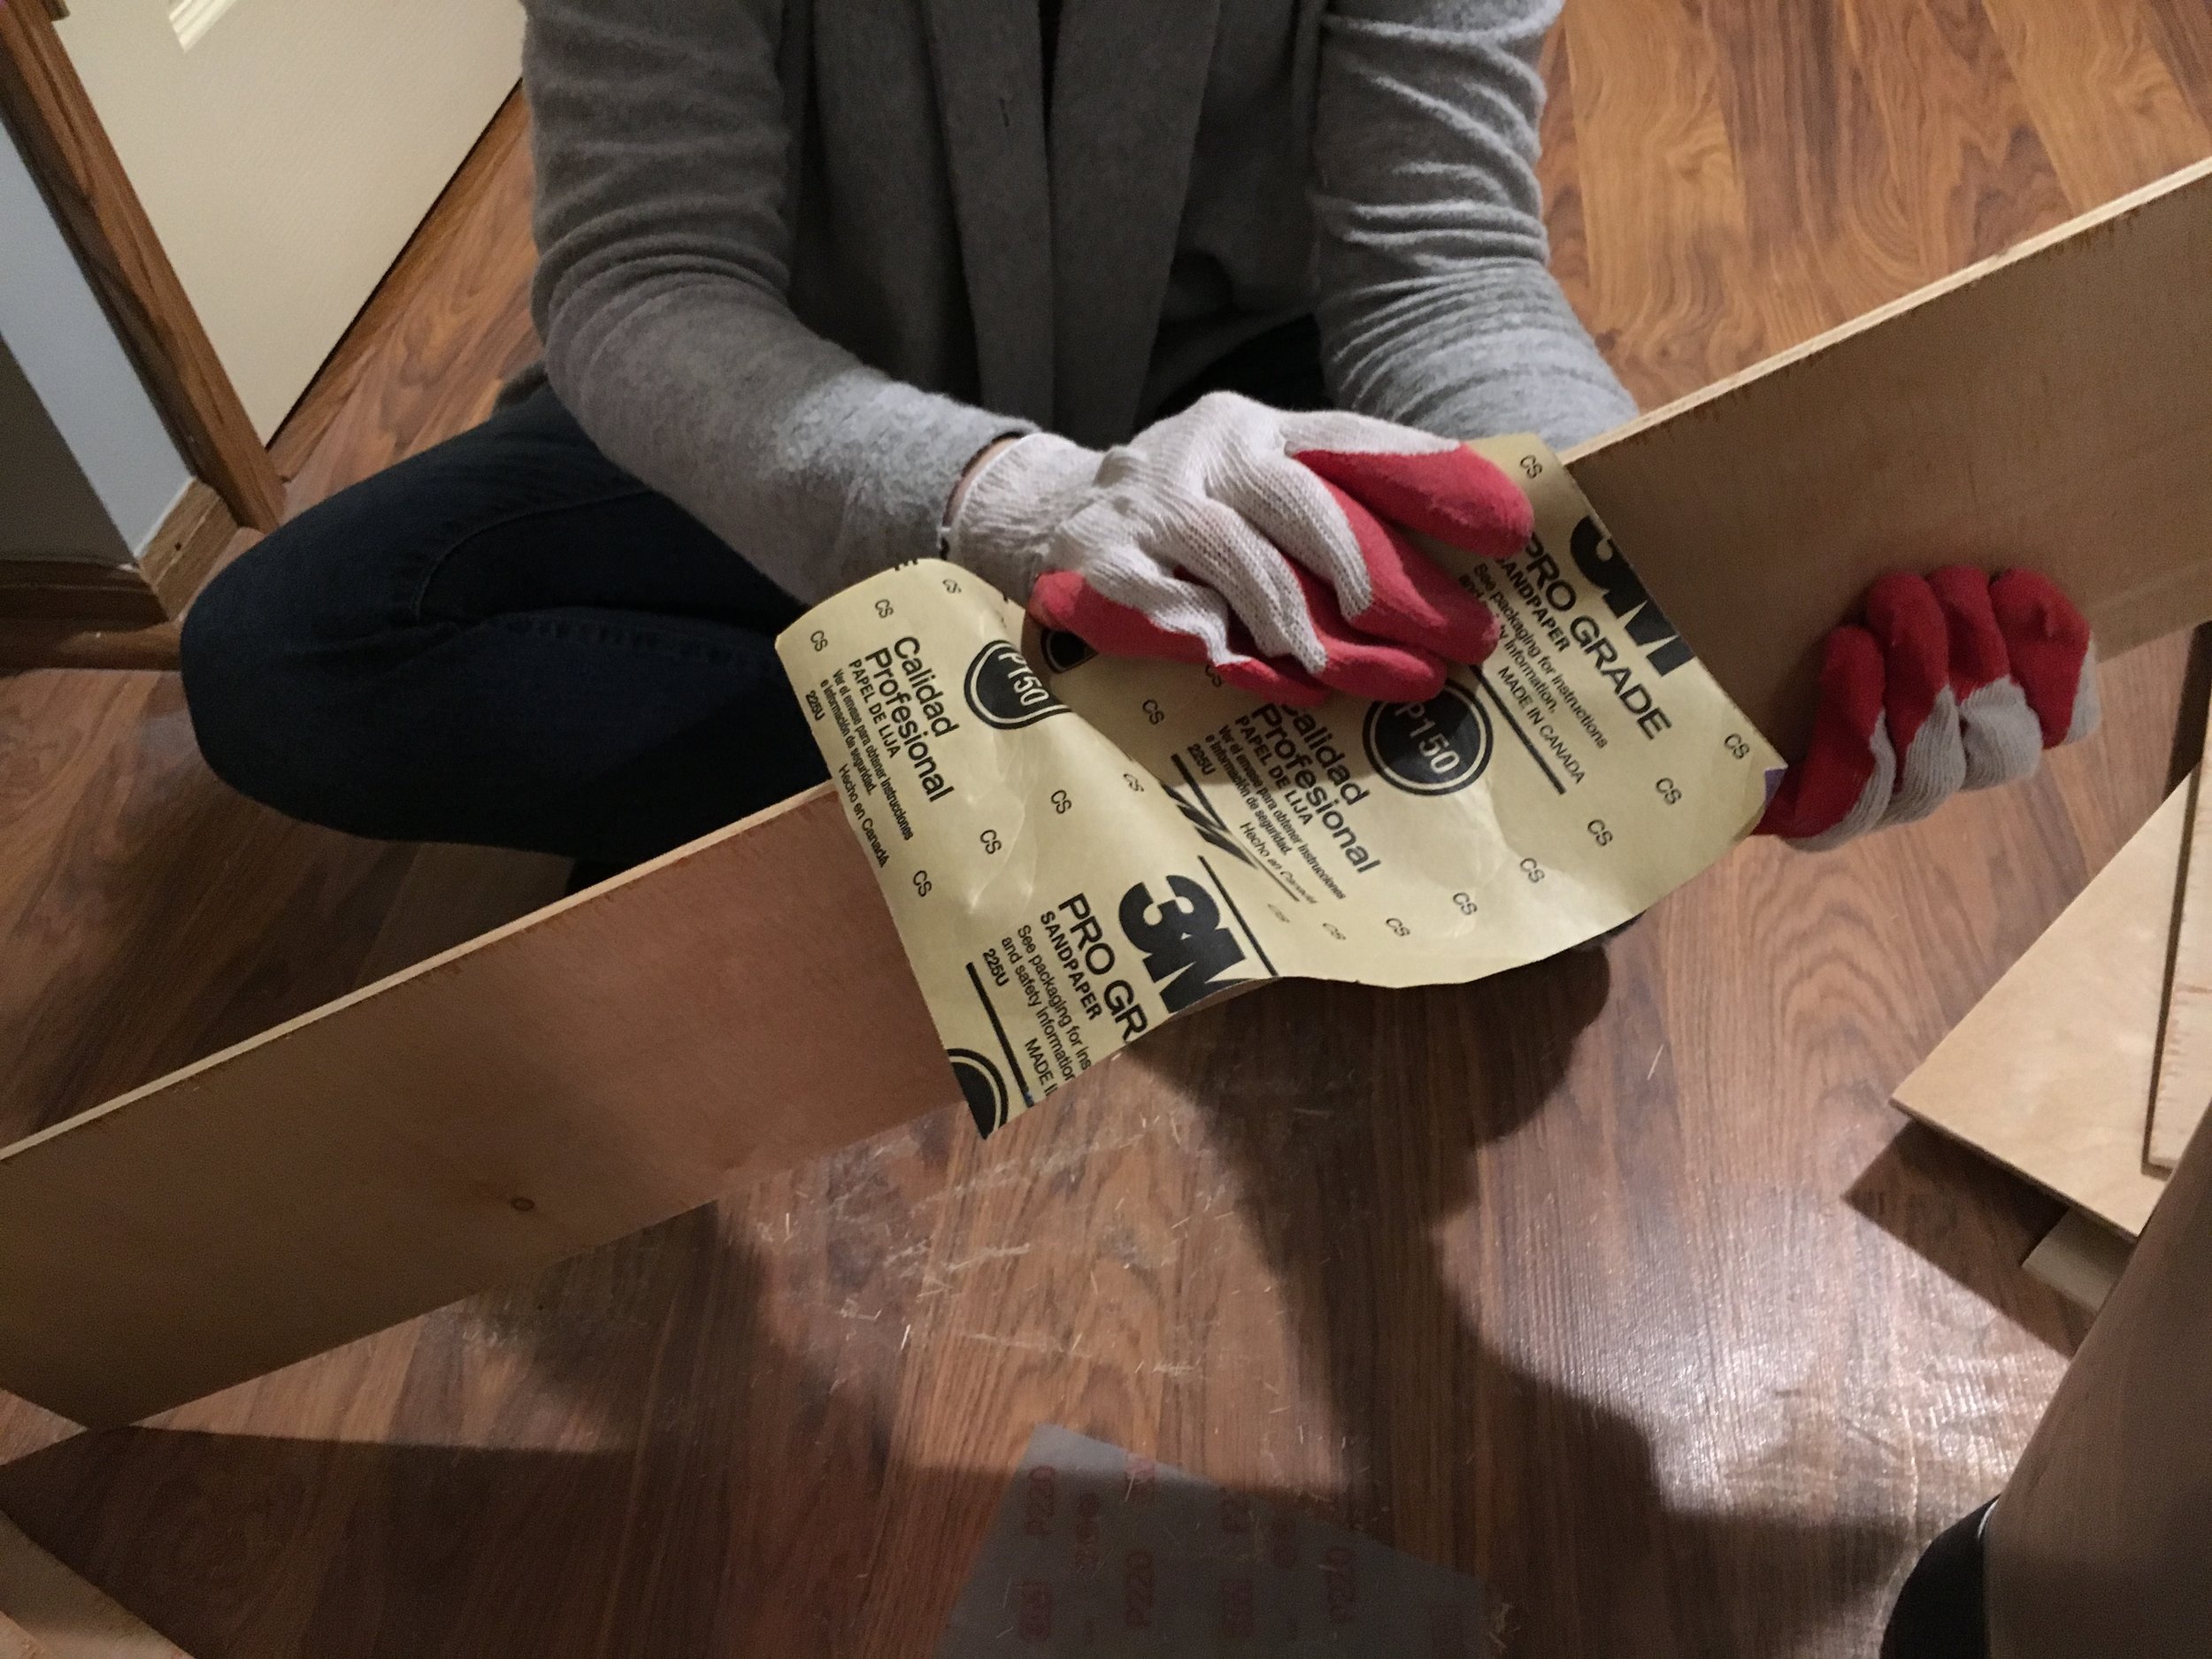
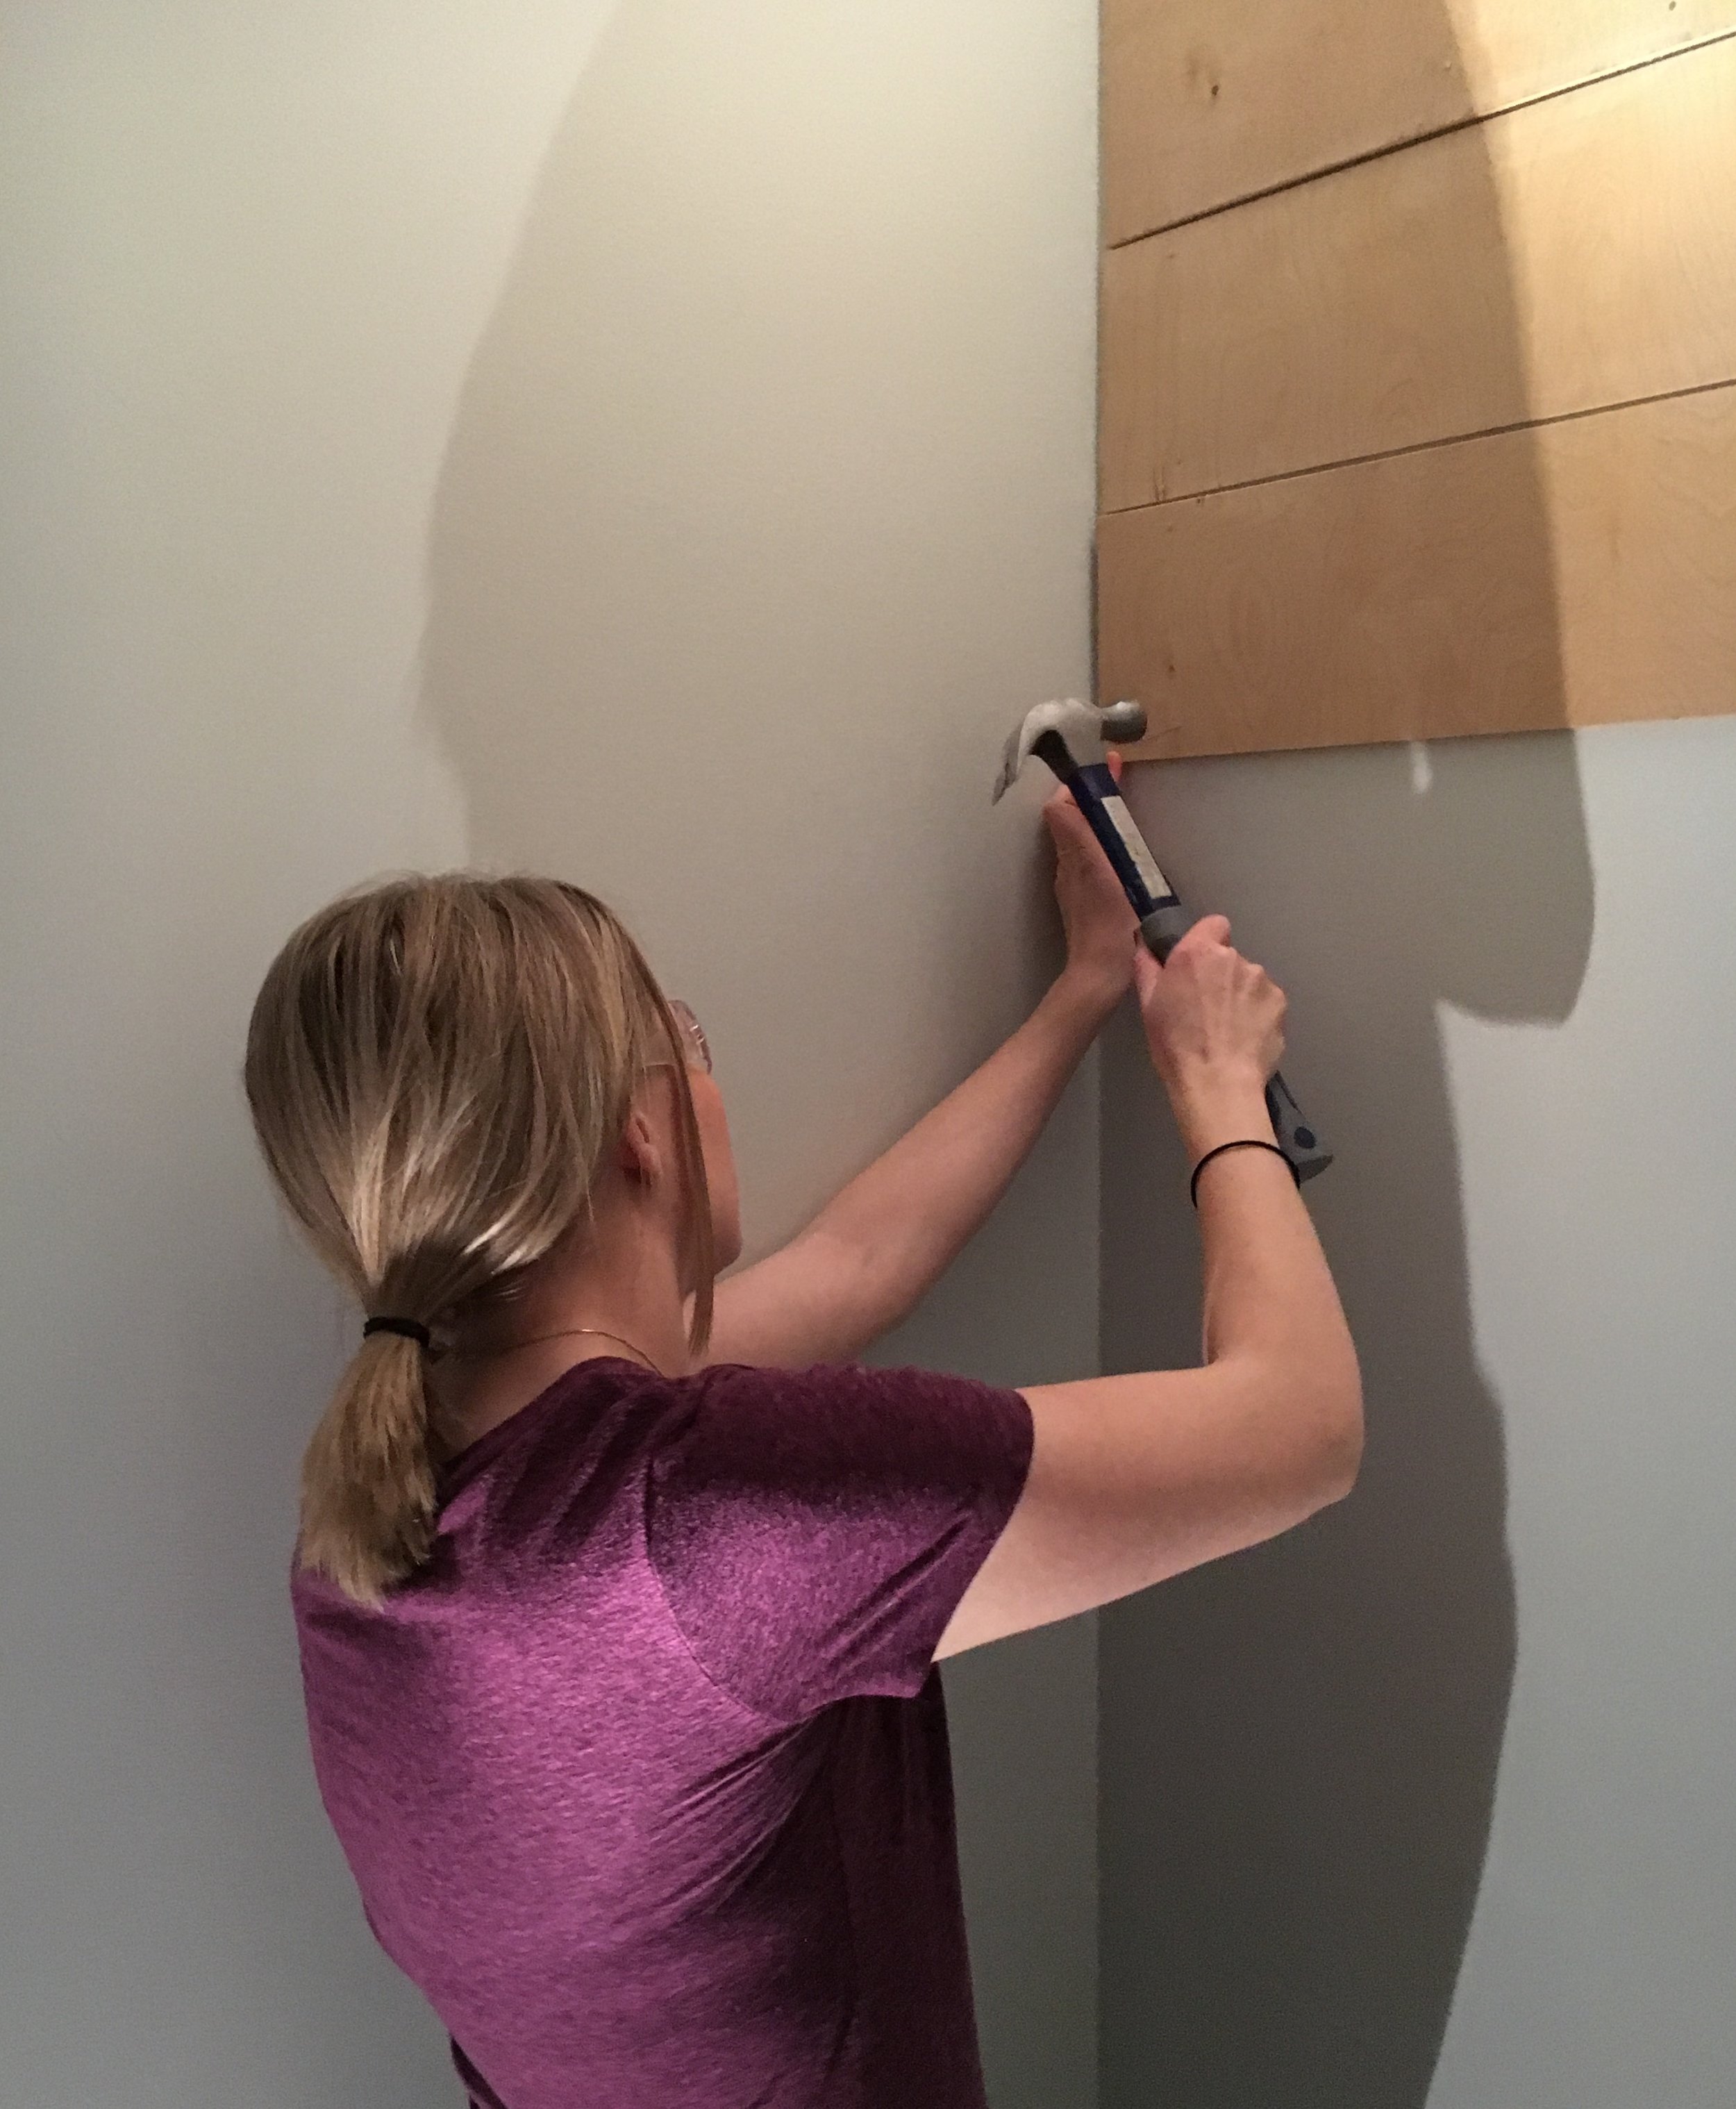
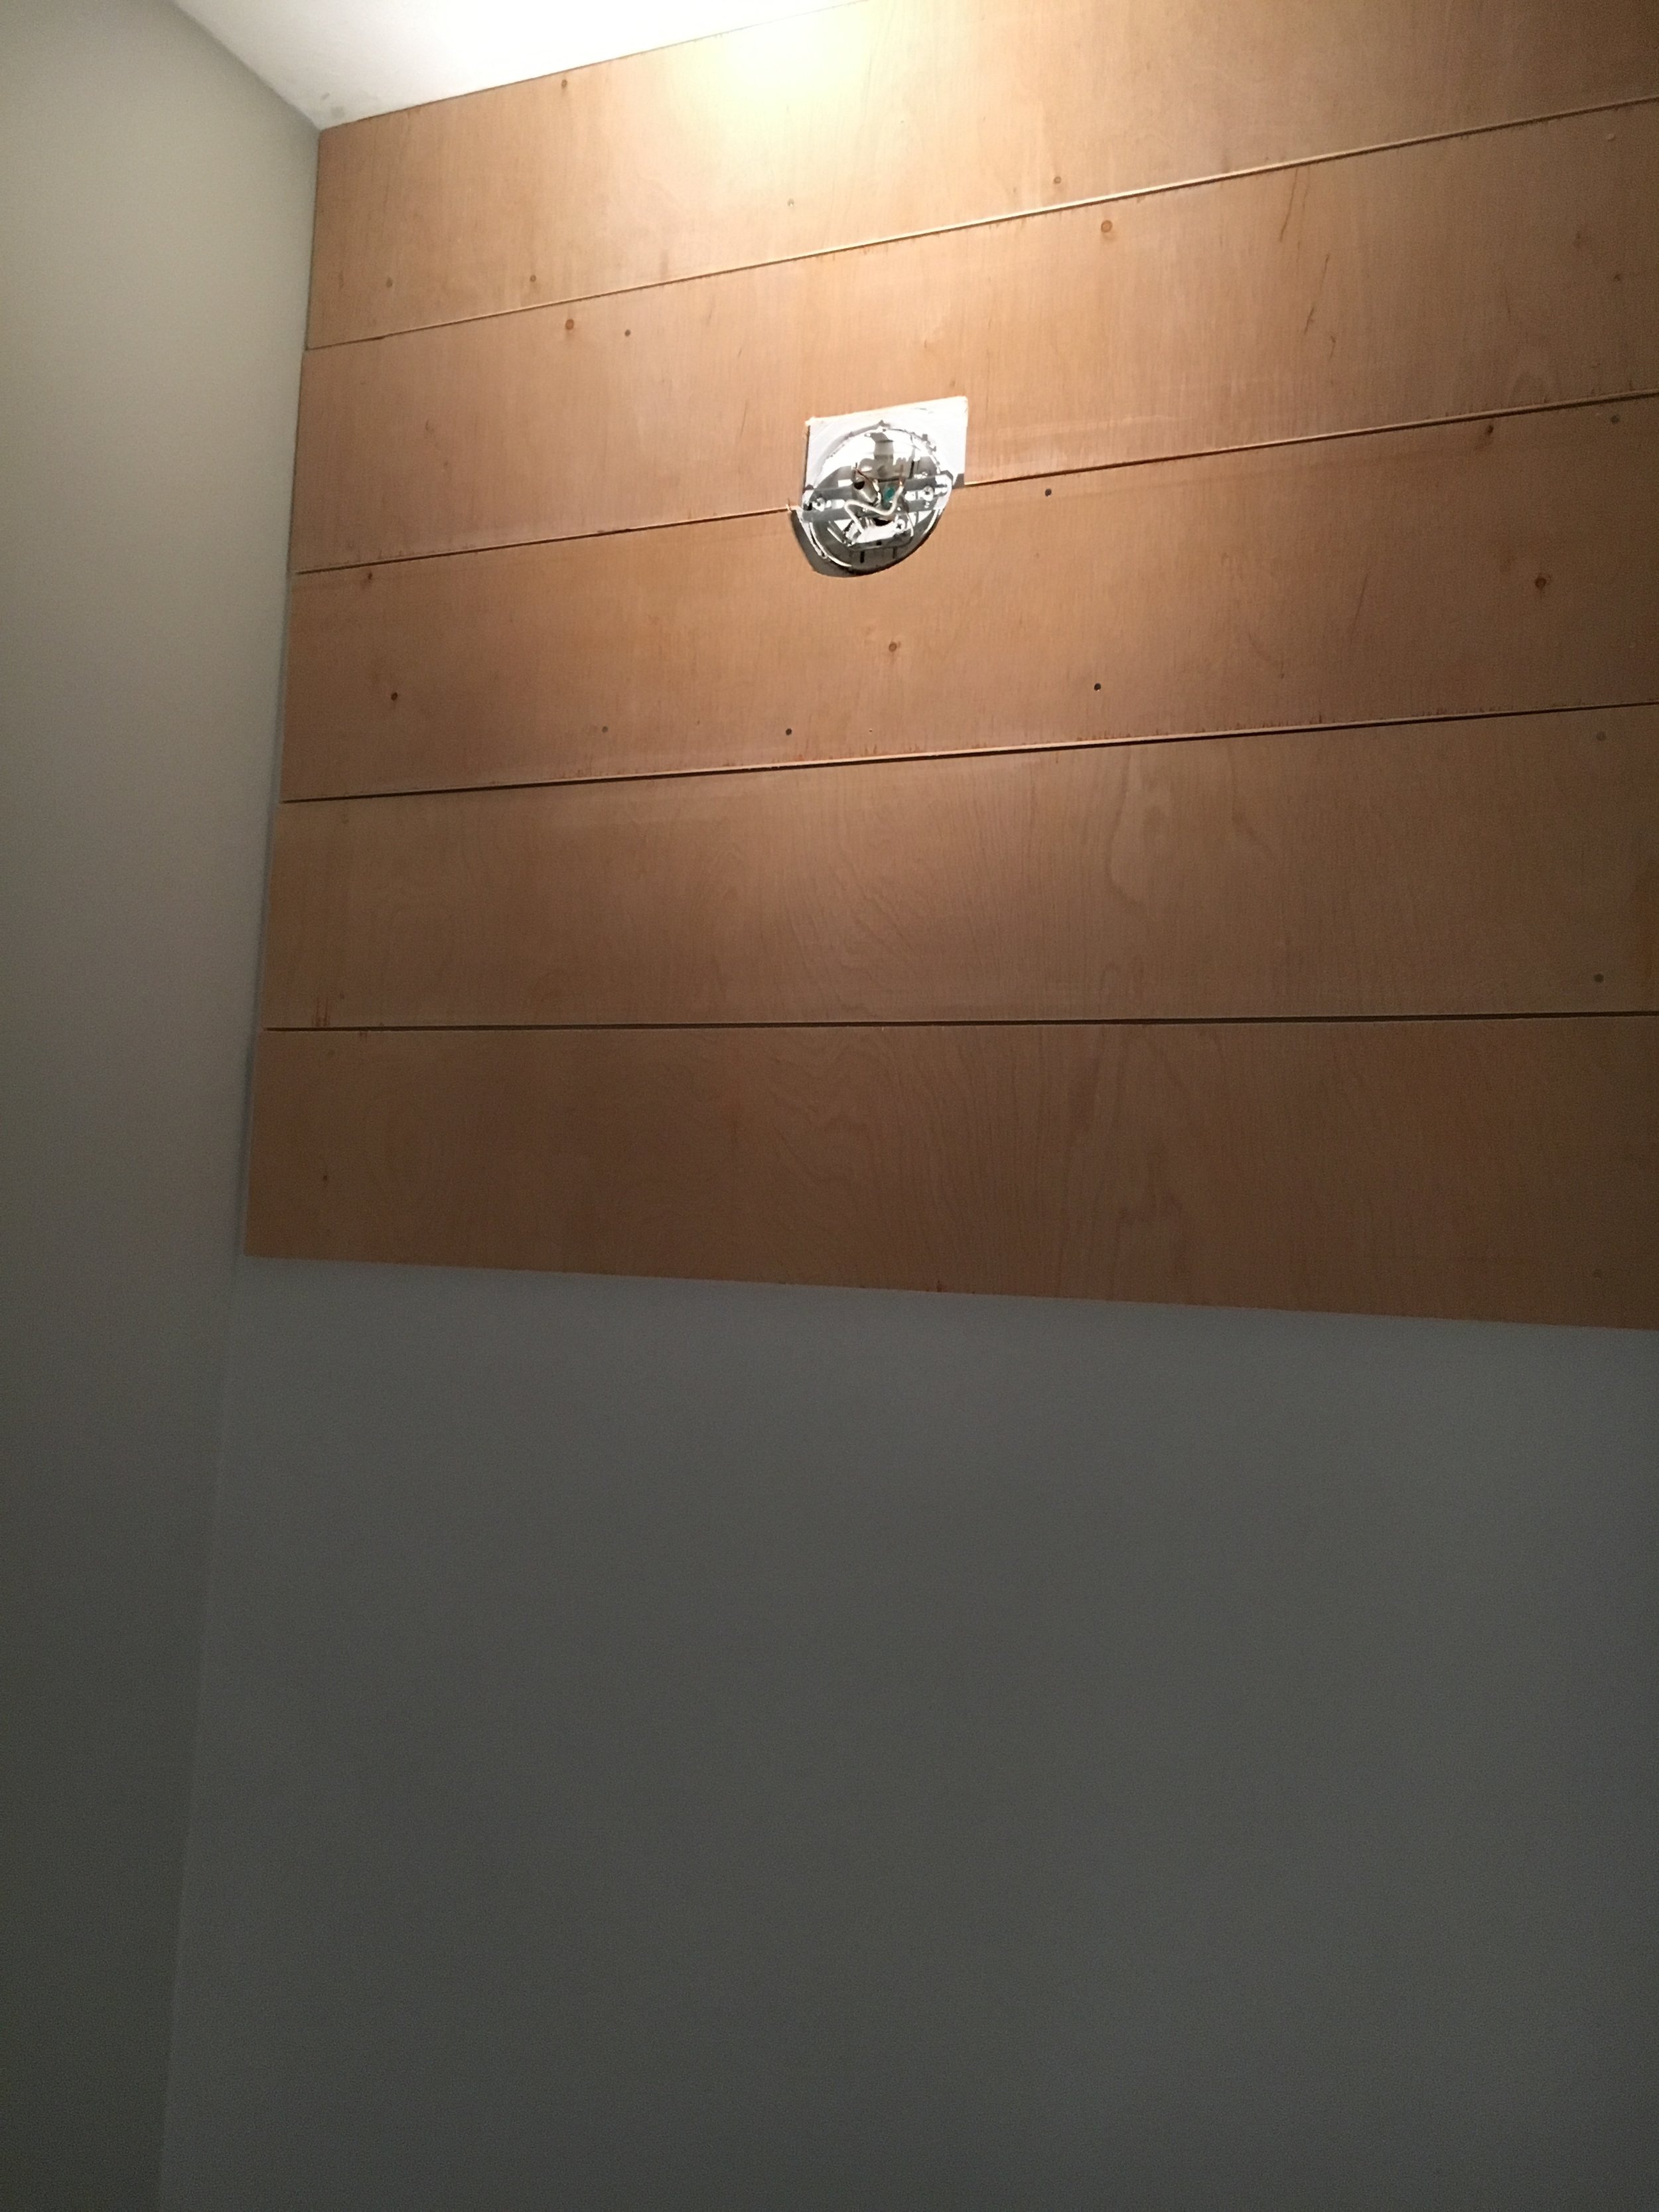
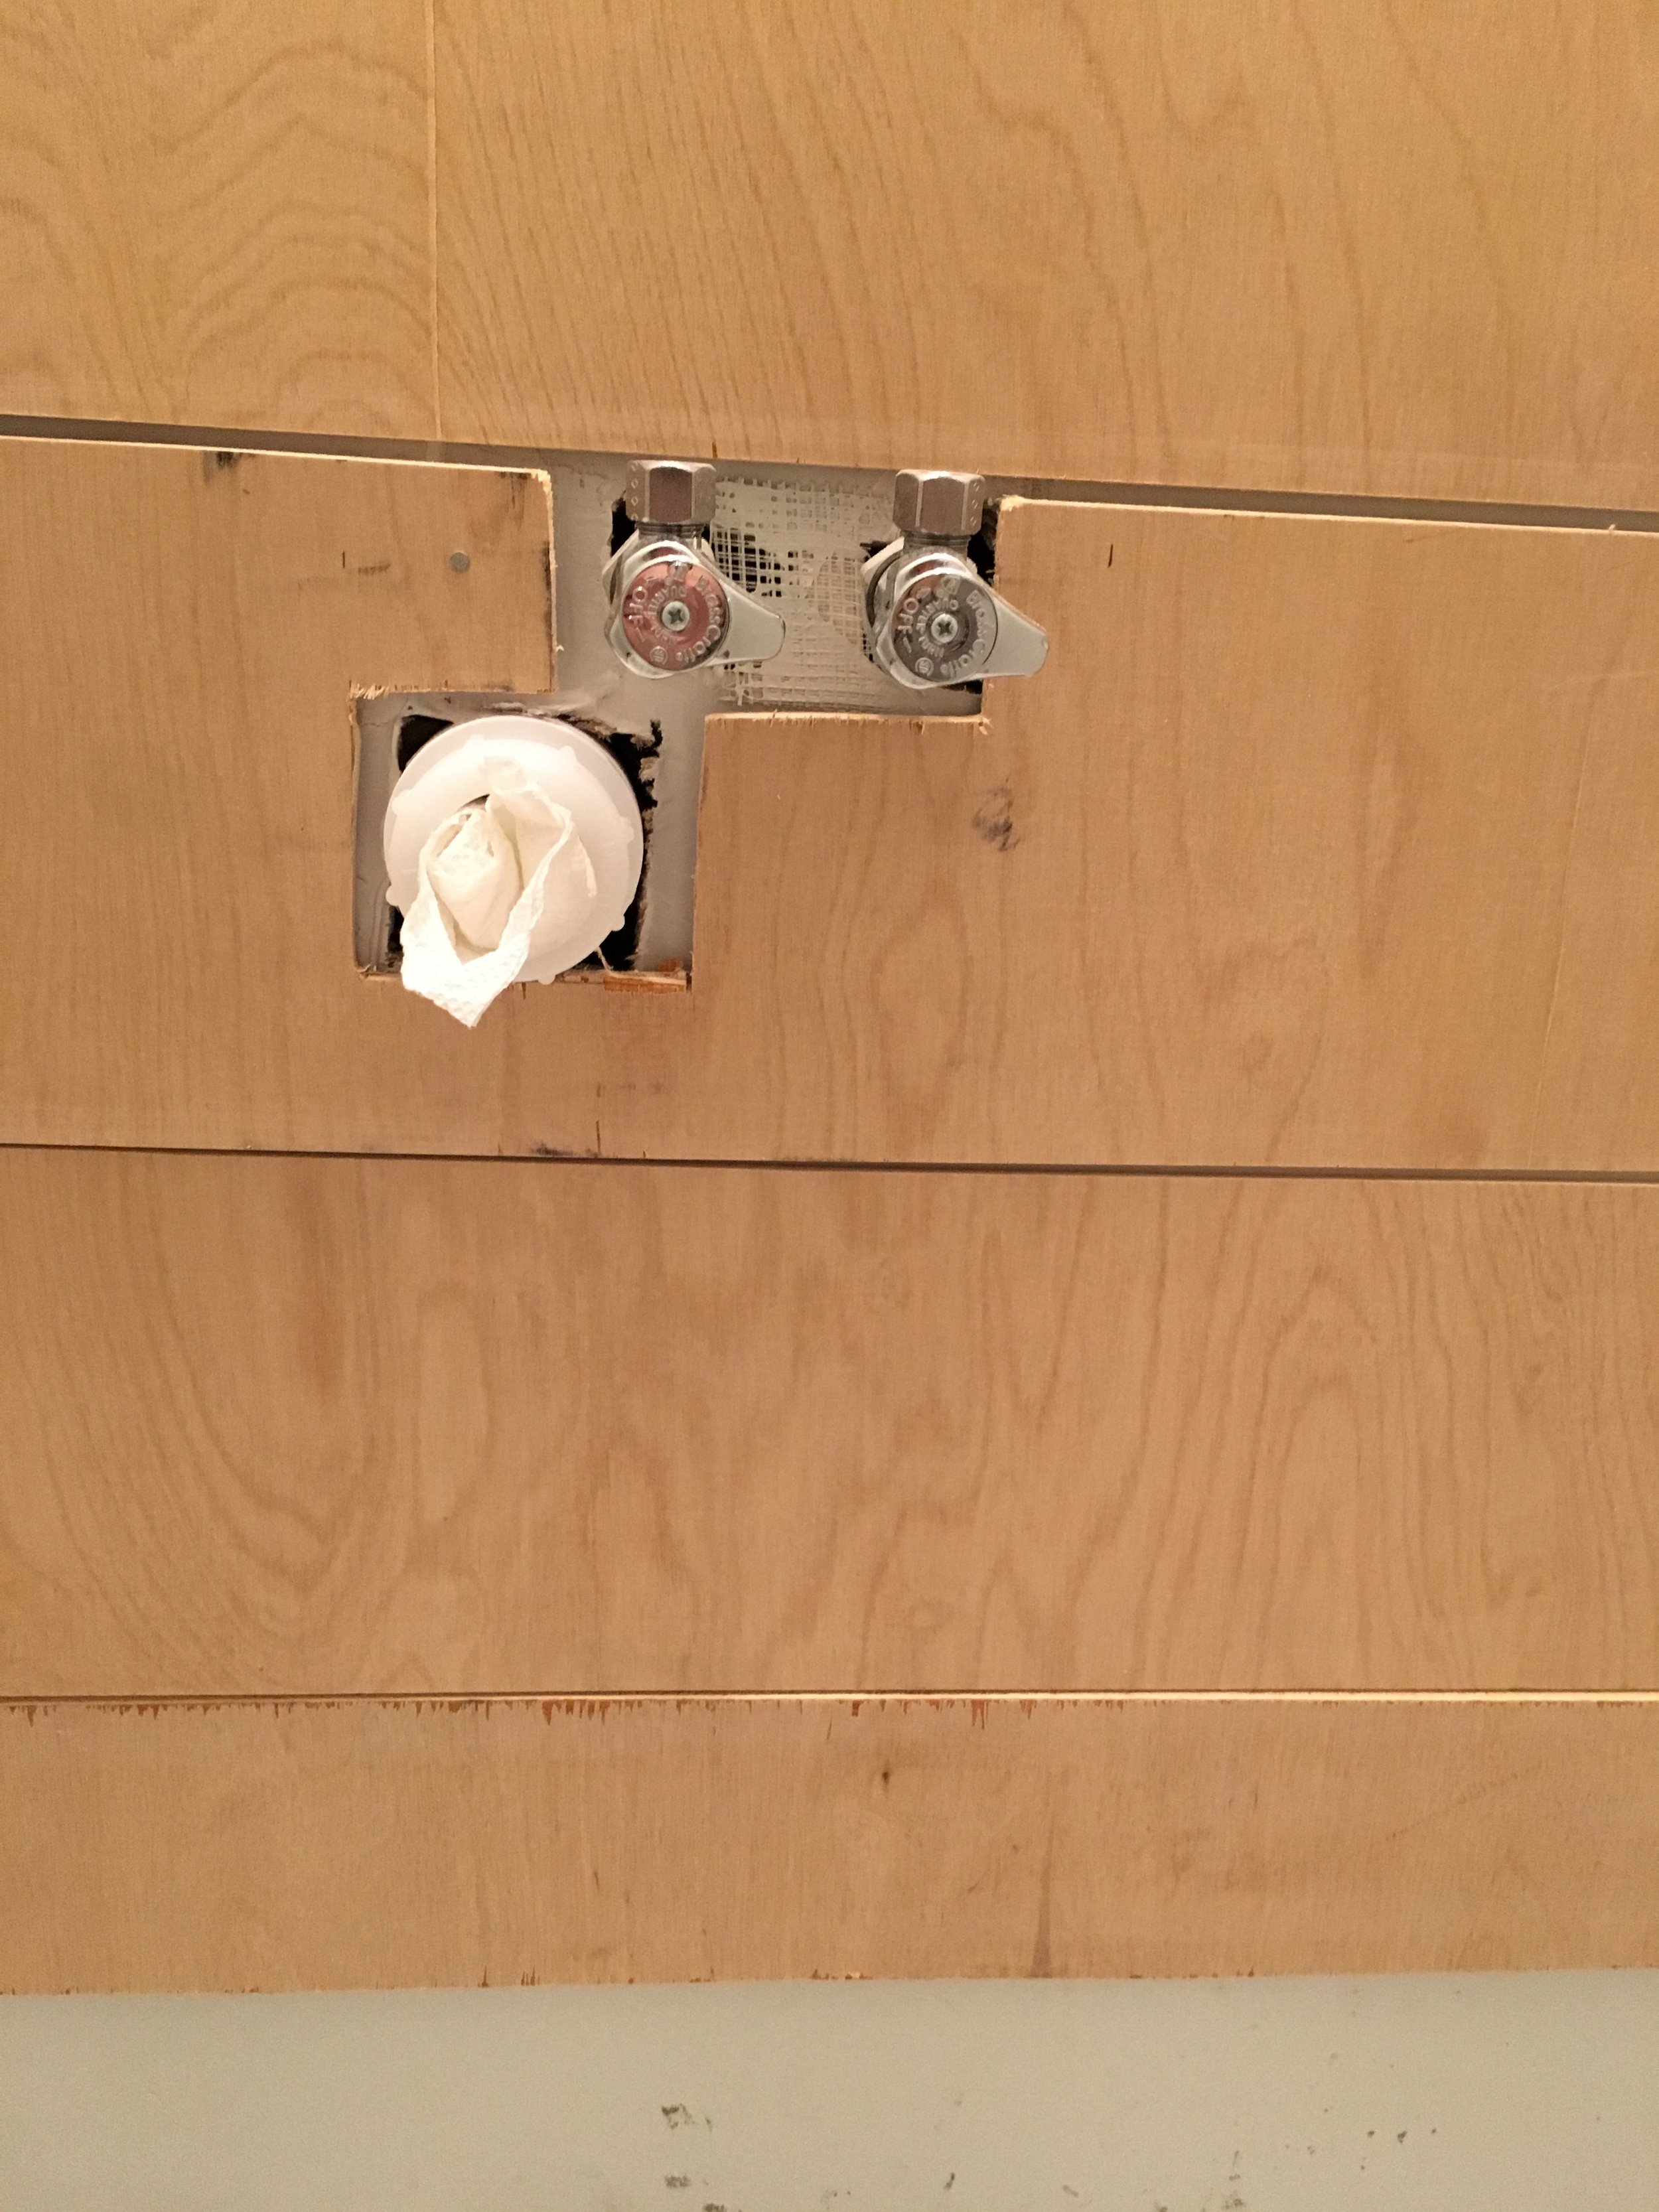
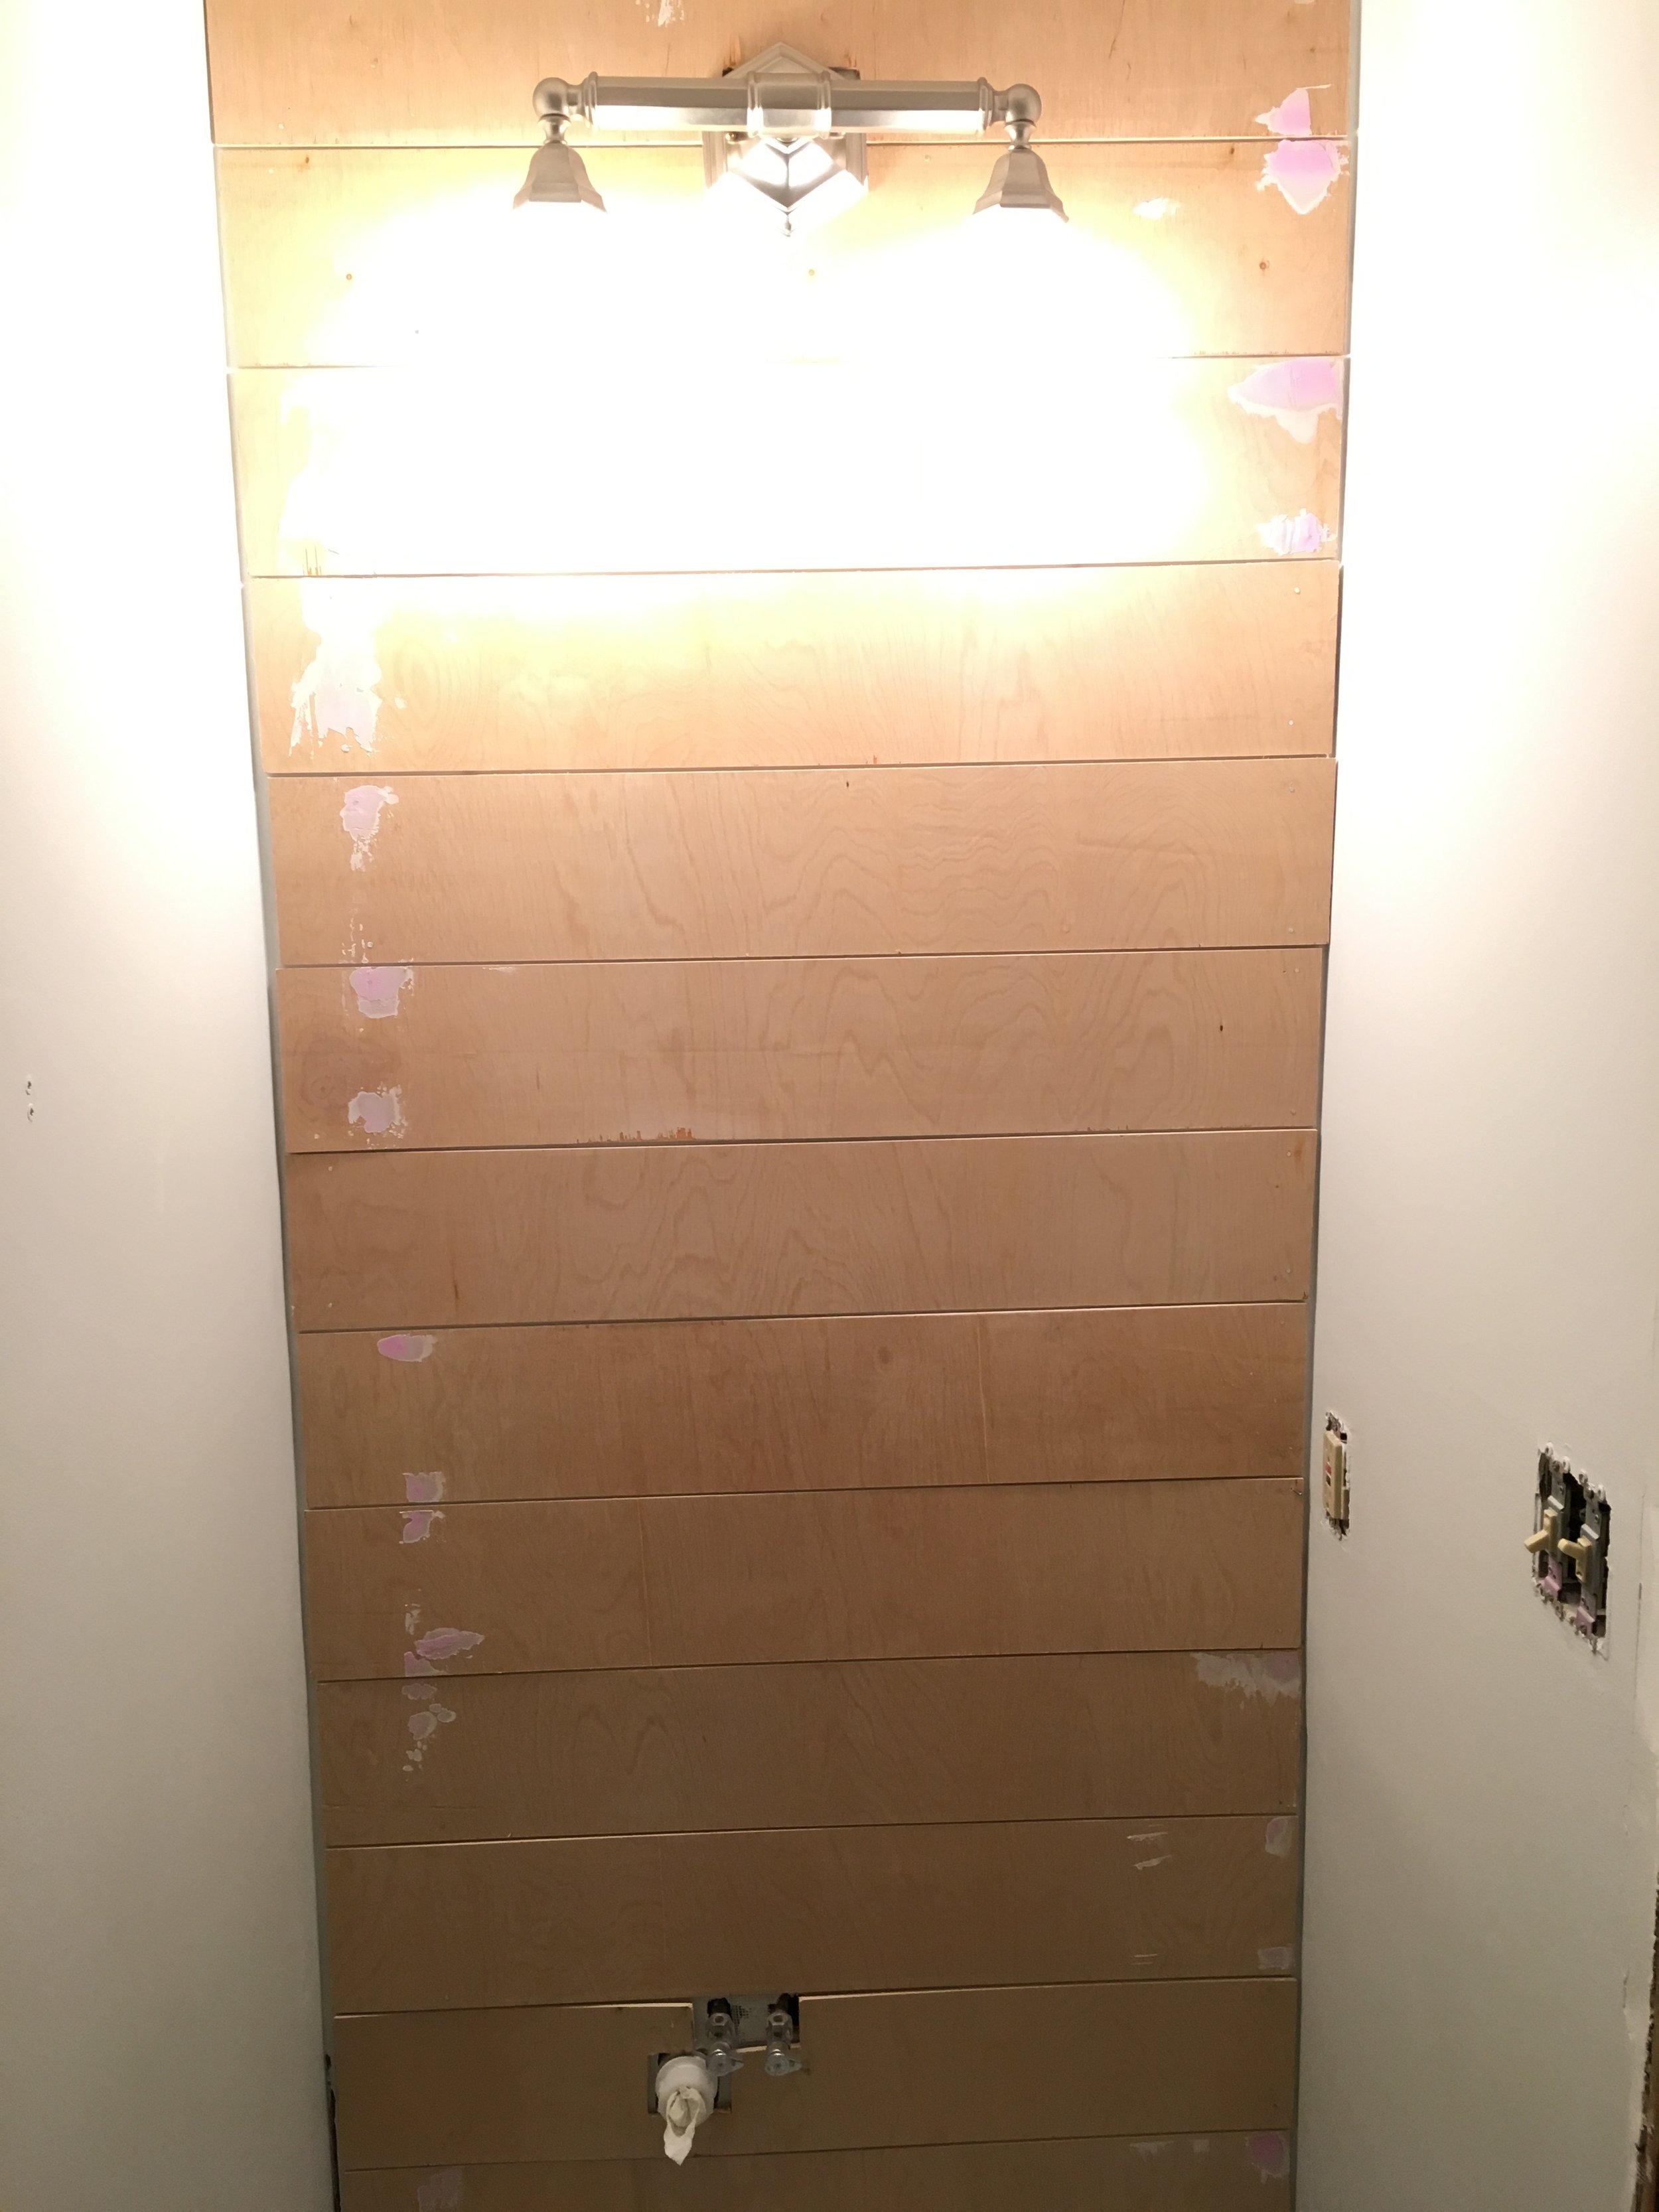
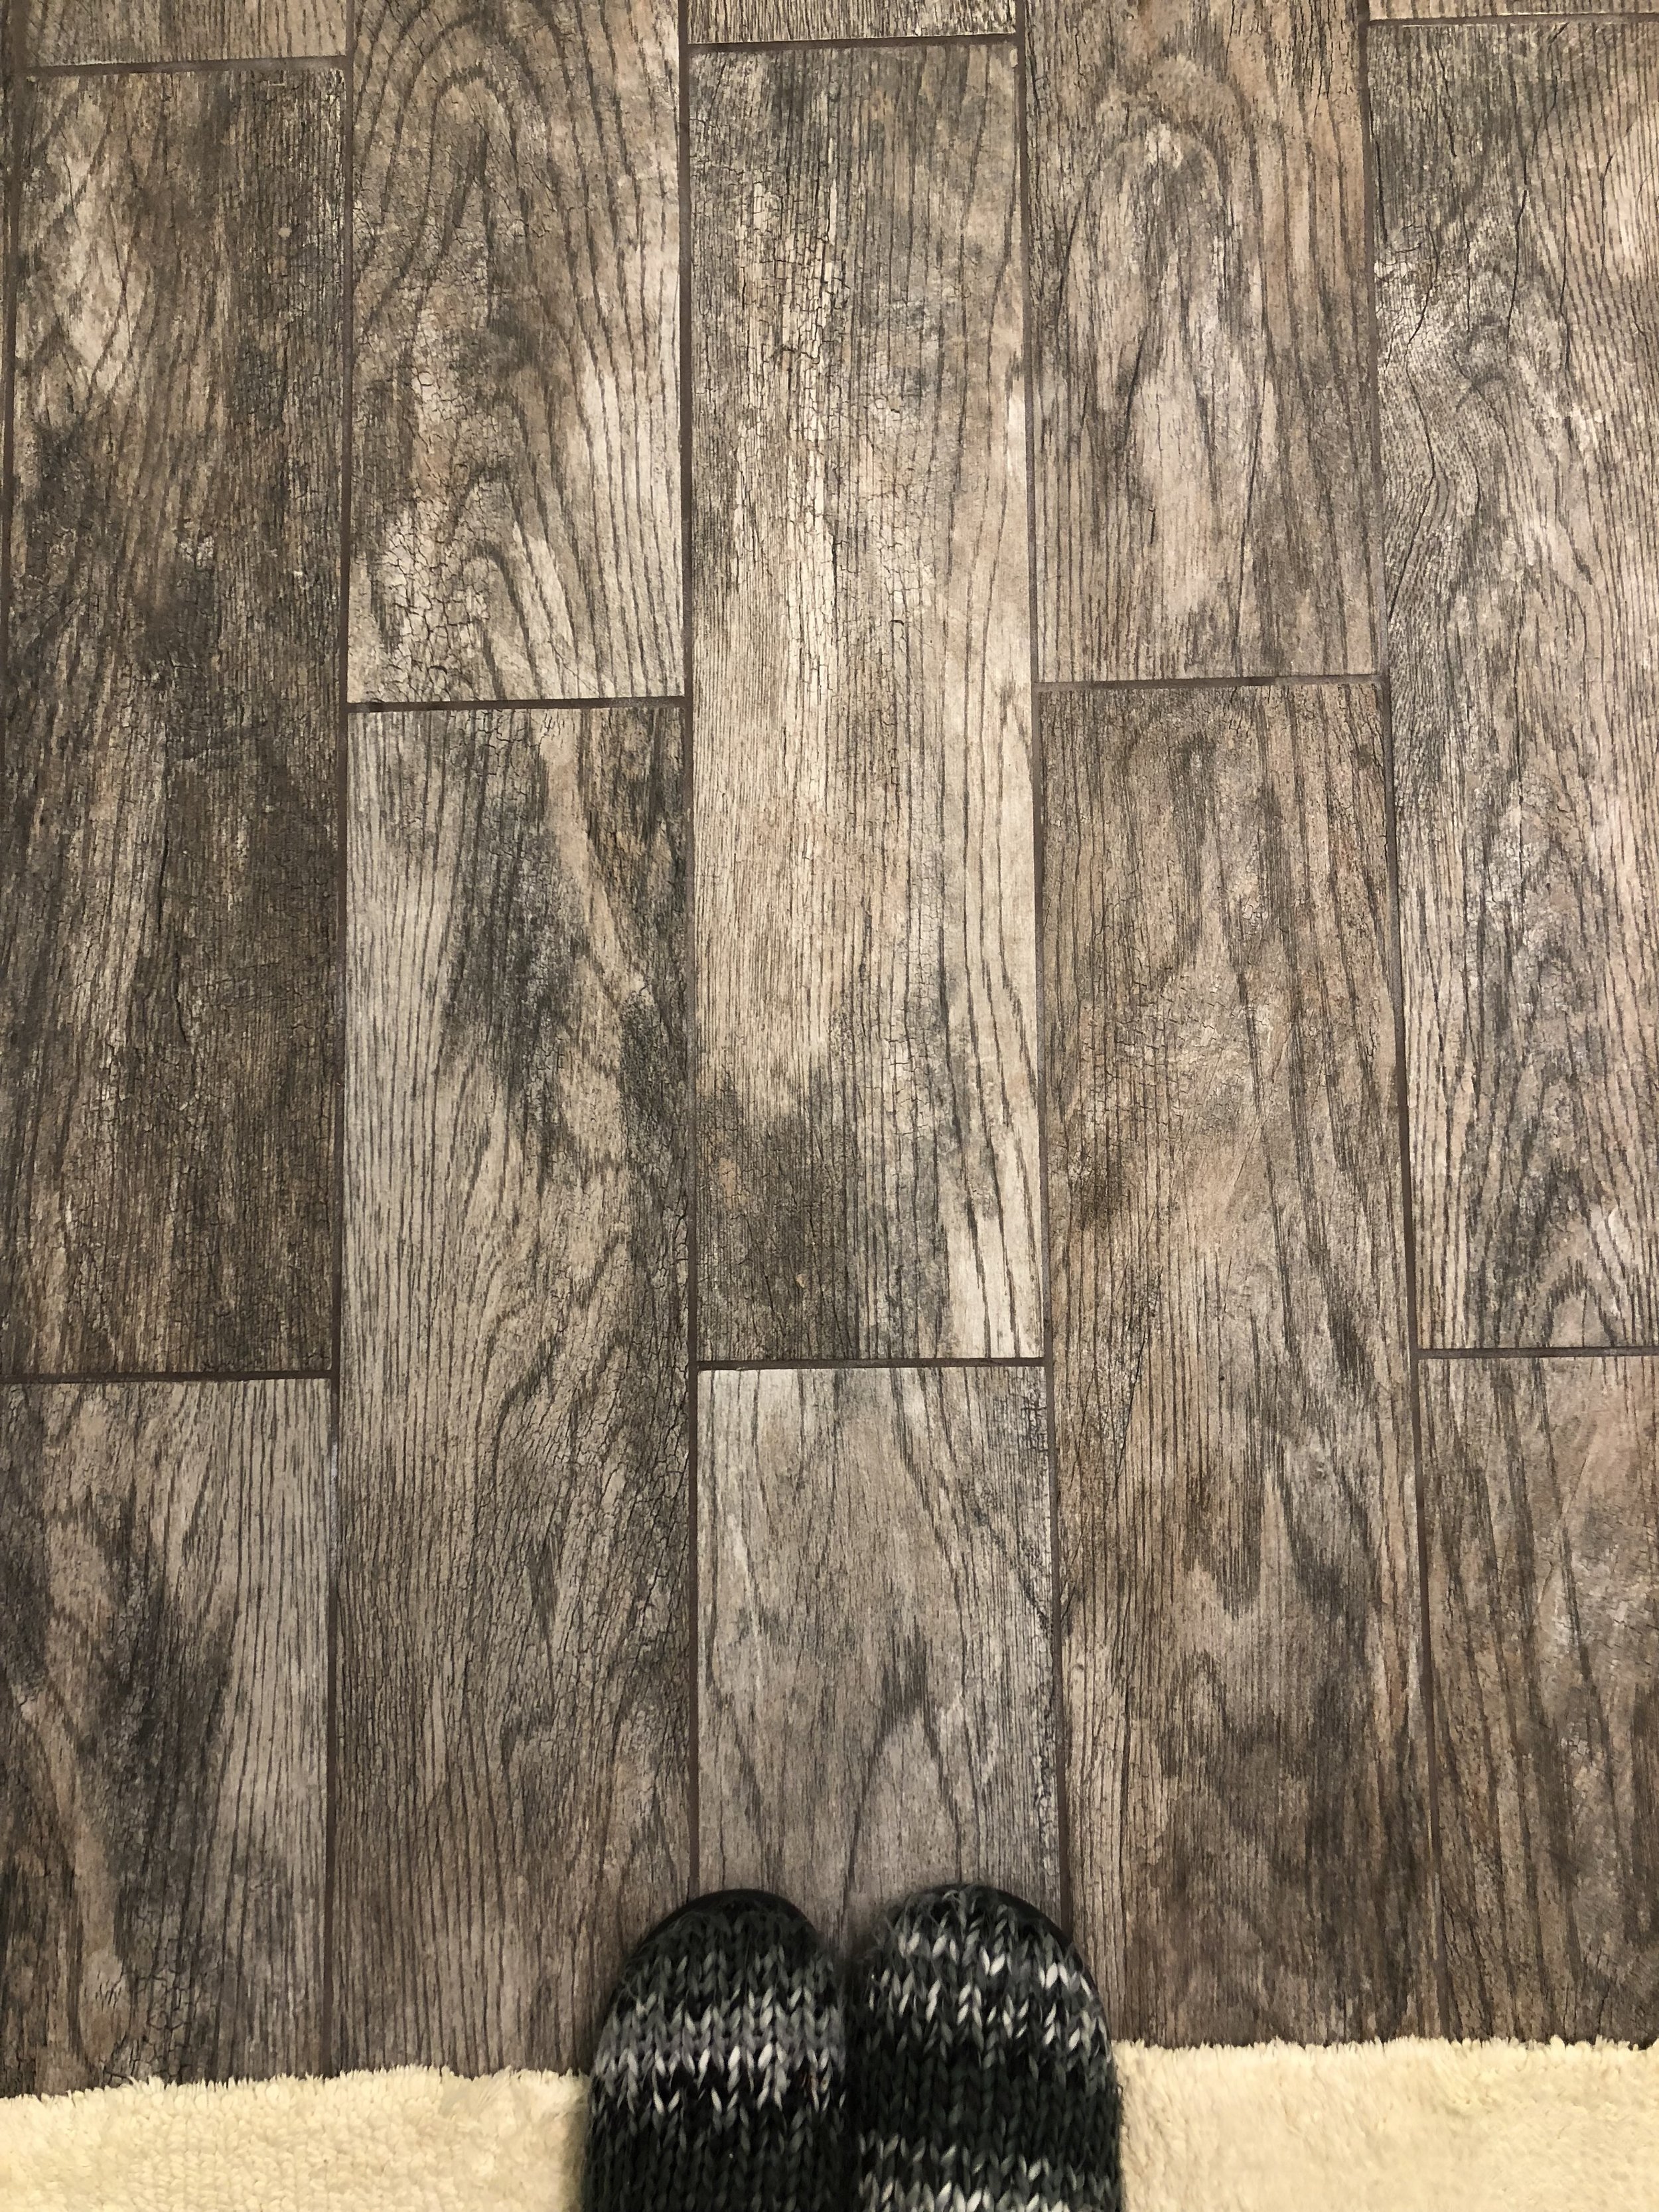
We've painted the walls and the doors, ripped everything out, including the old floors, relocated the vanity pipes to the wall, and tiled the floors. And, when I say "we" I really mean my husband. He has been awesome with all of my remodel ideas. I helped paint, but other than that it's been all him! Here's some pictures of the progress!


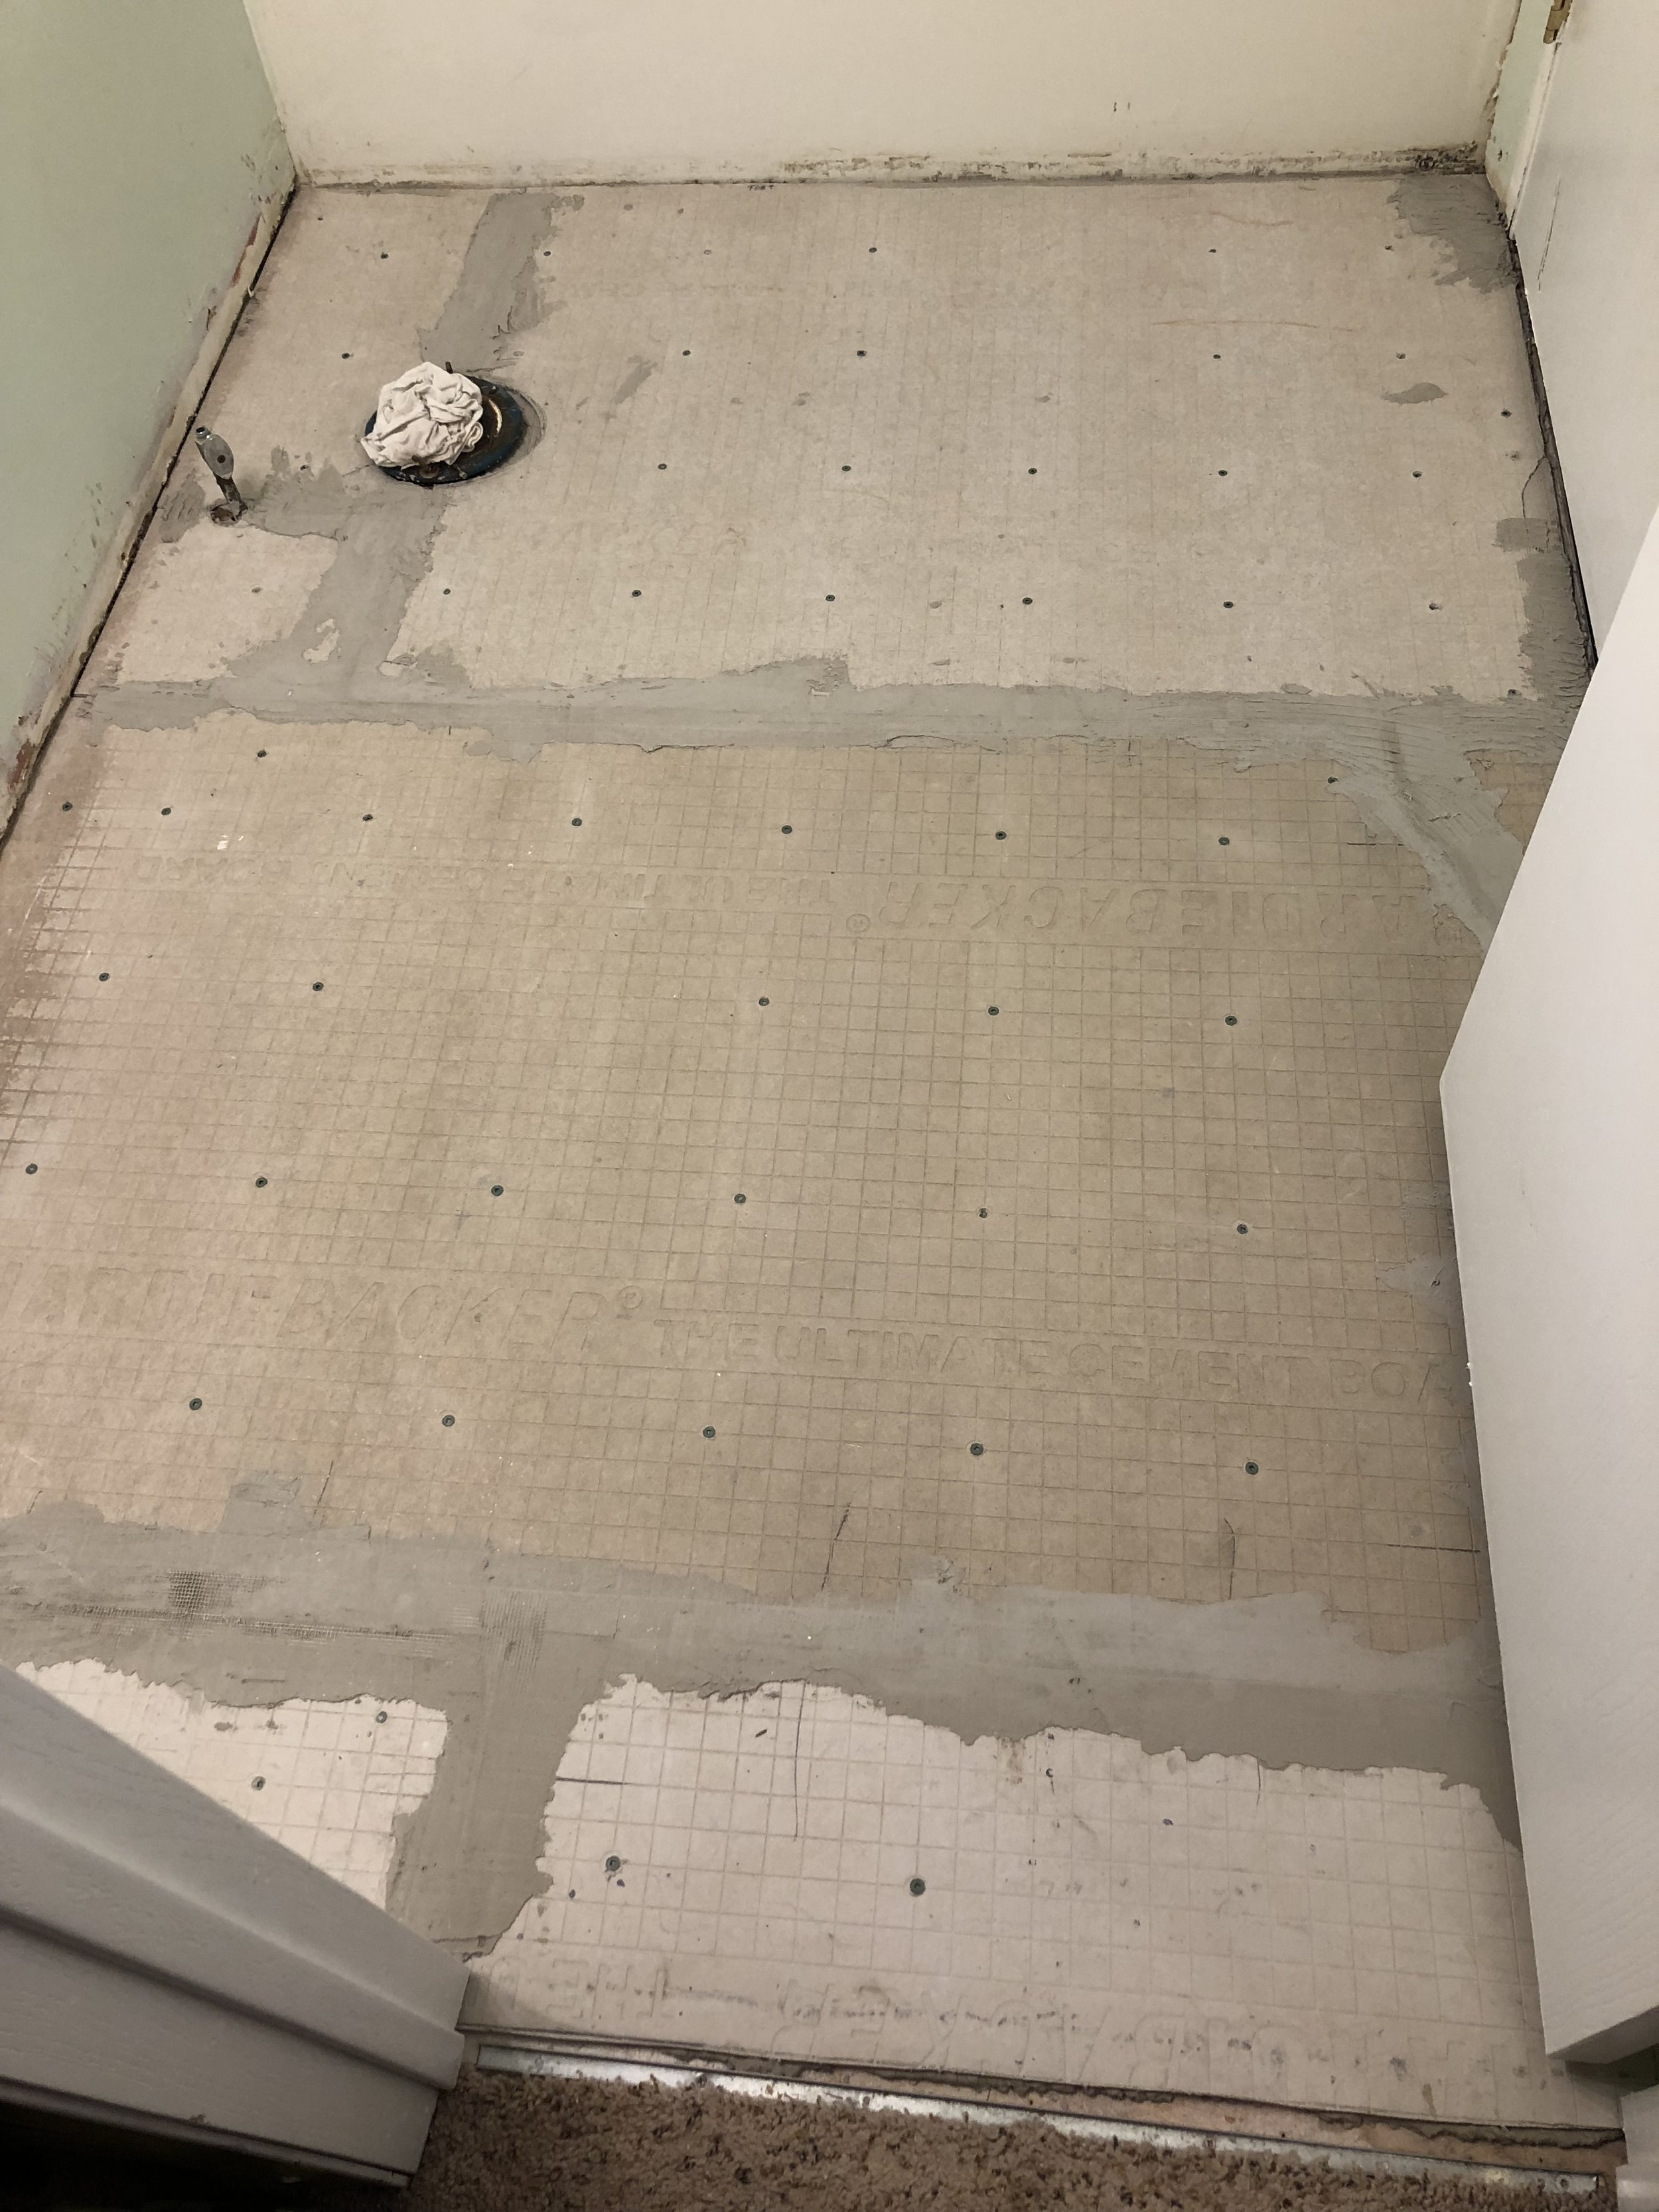
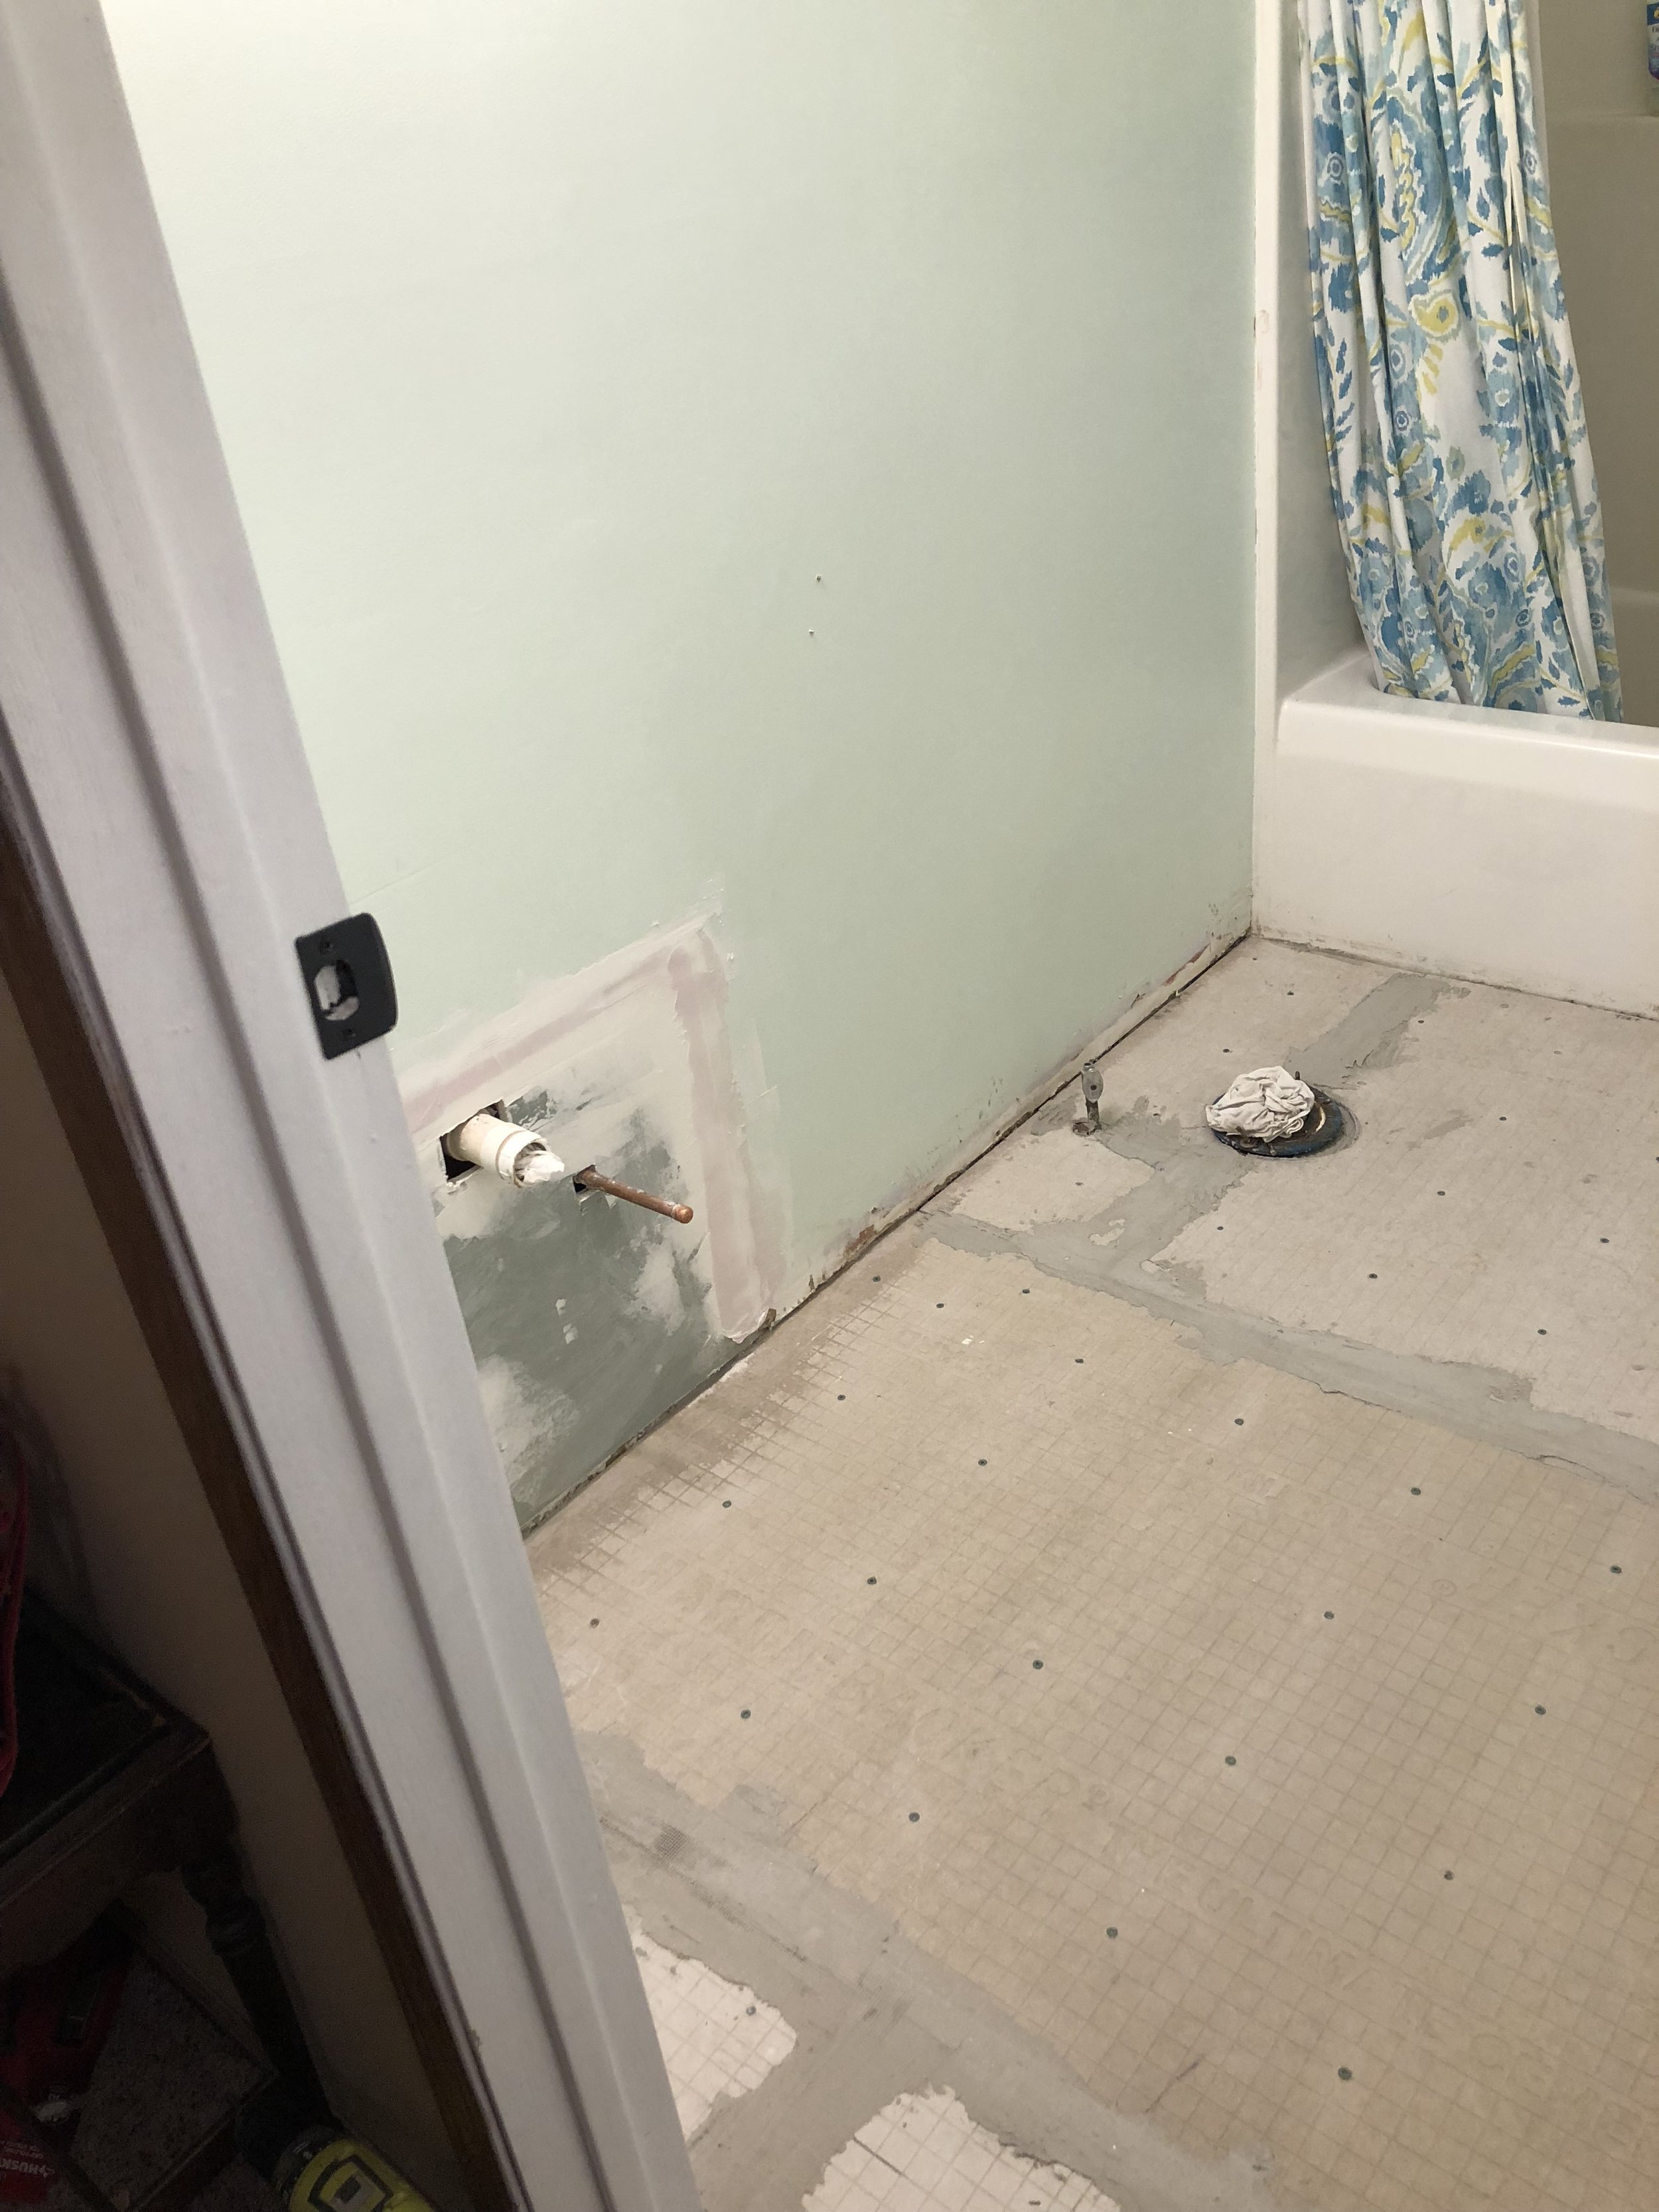
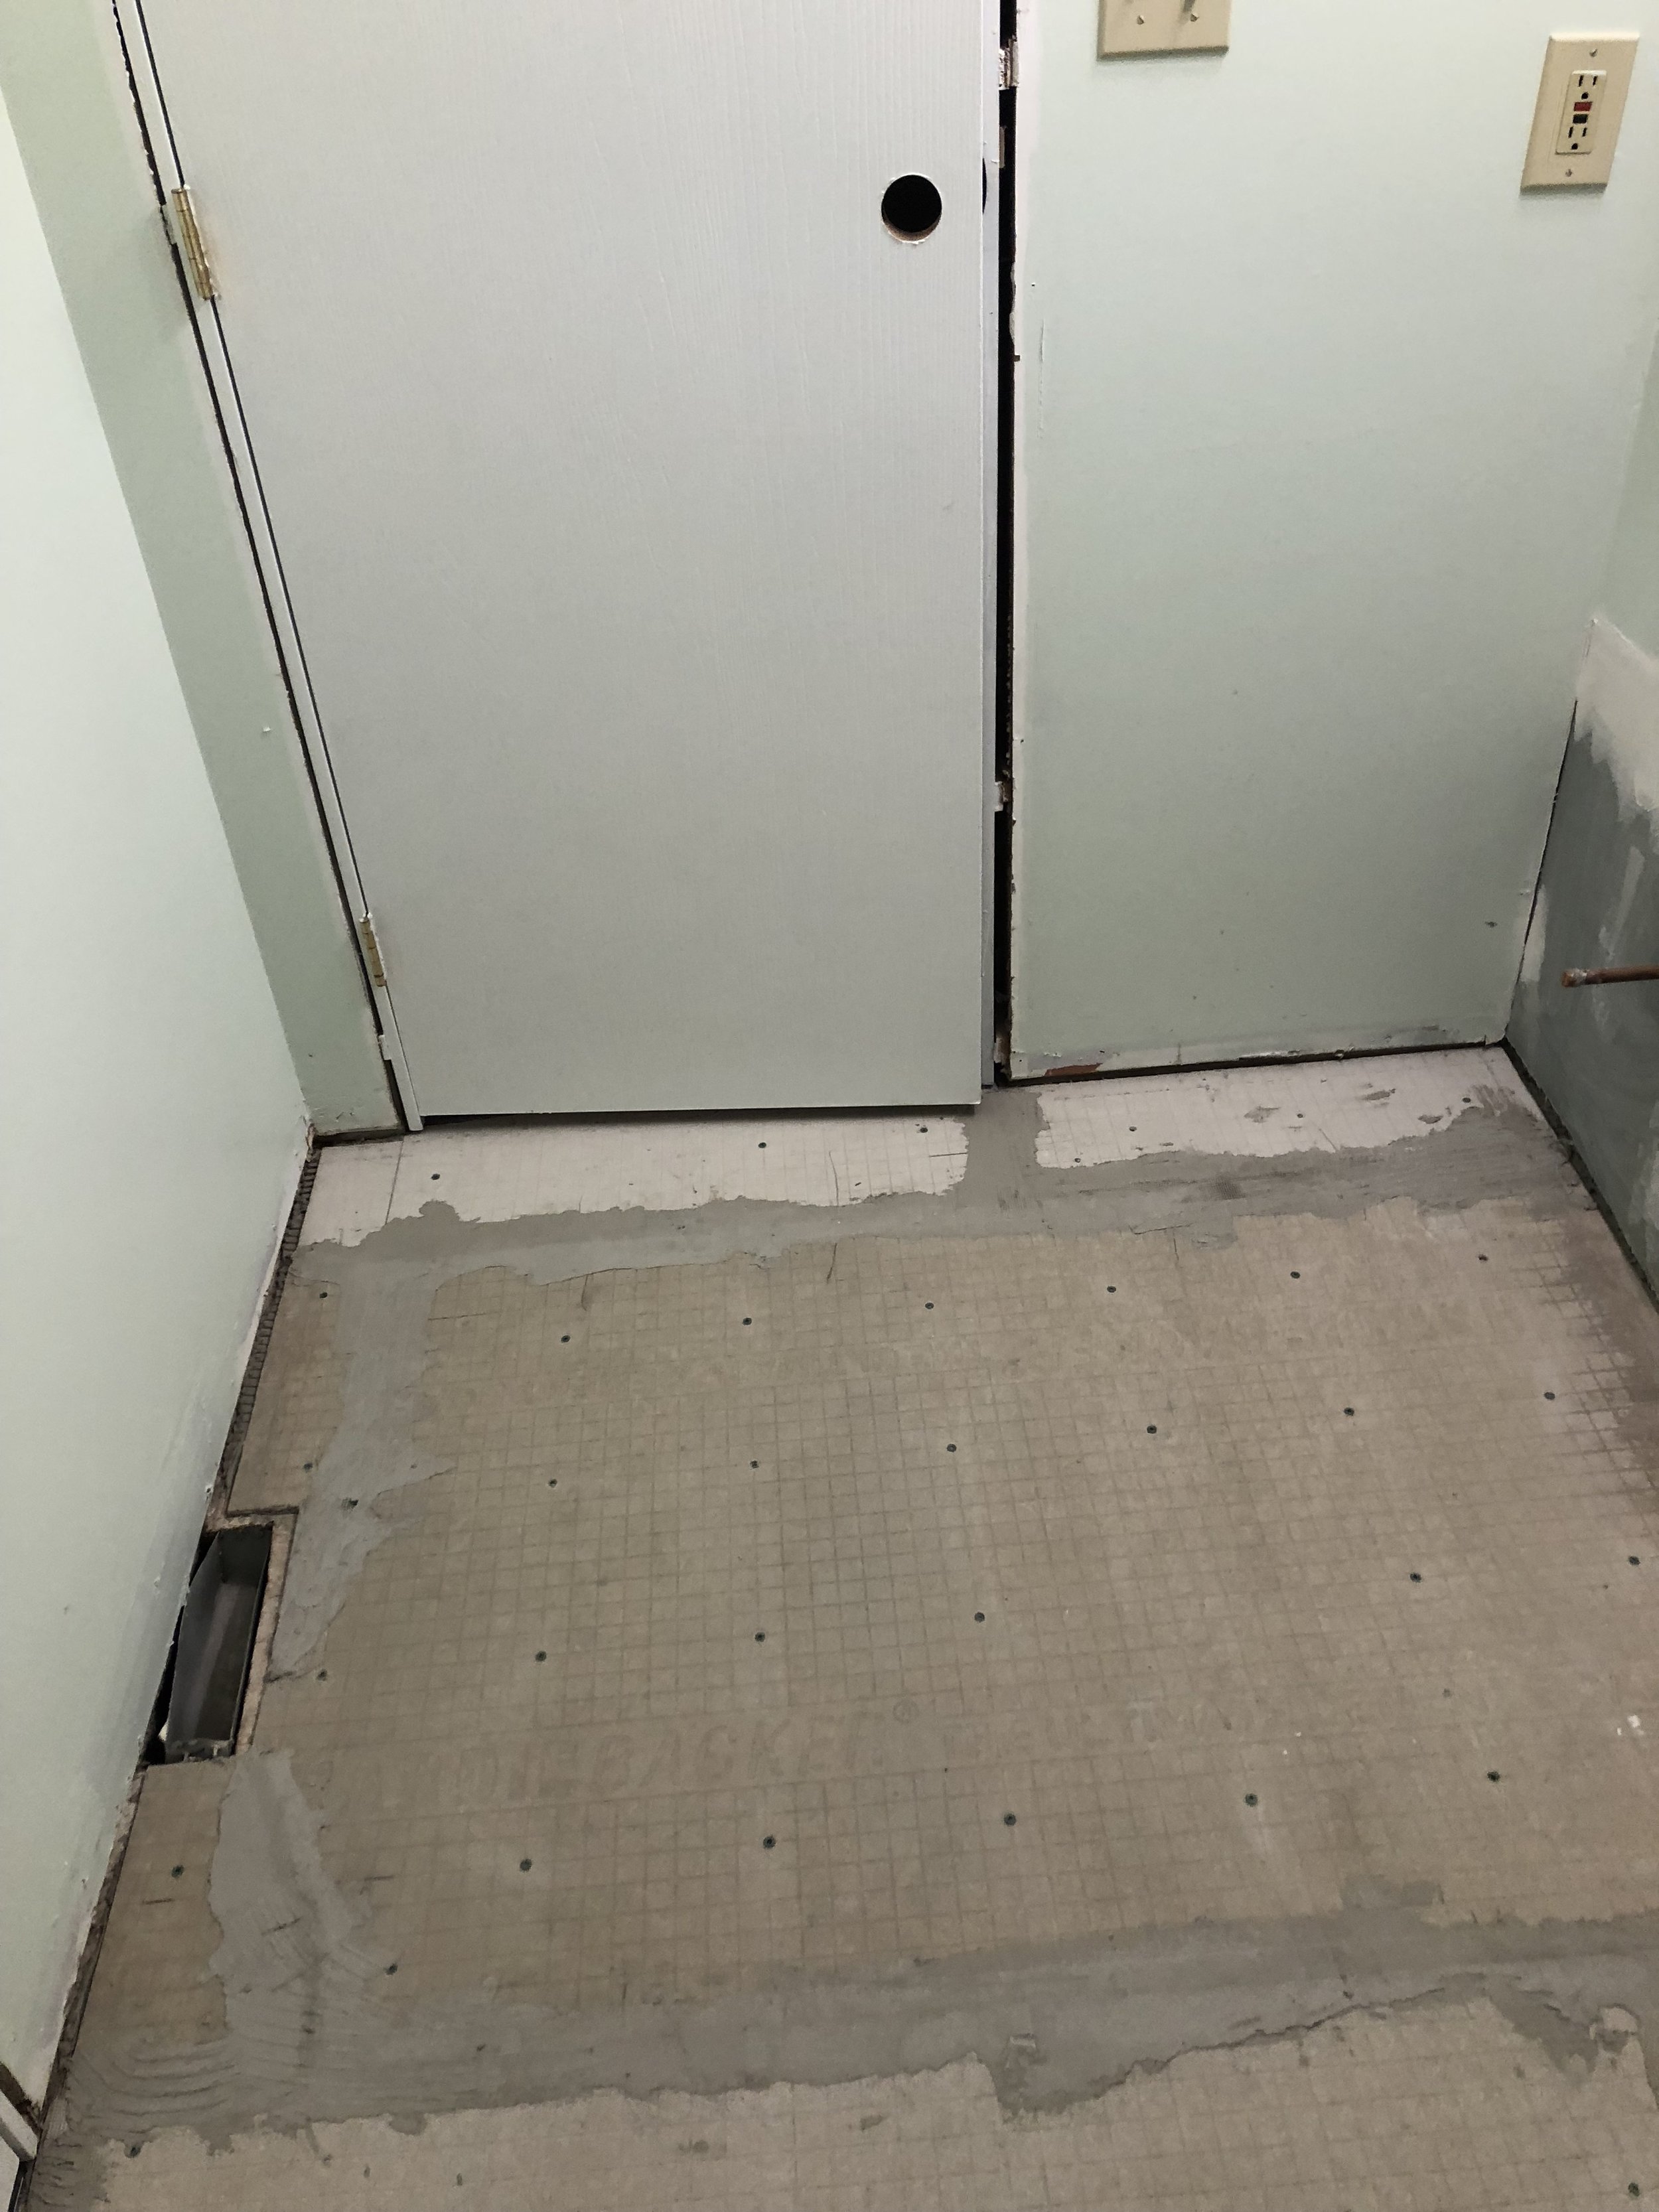
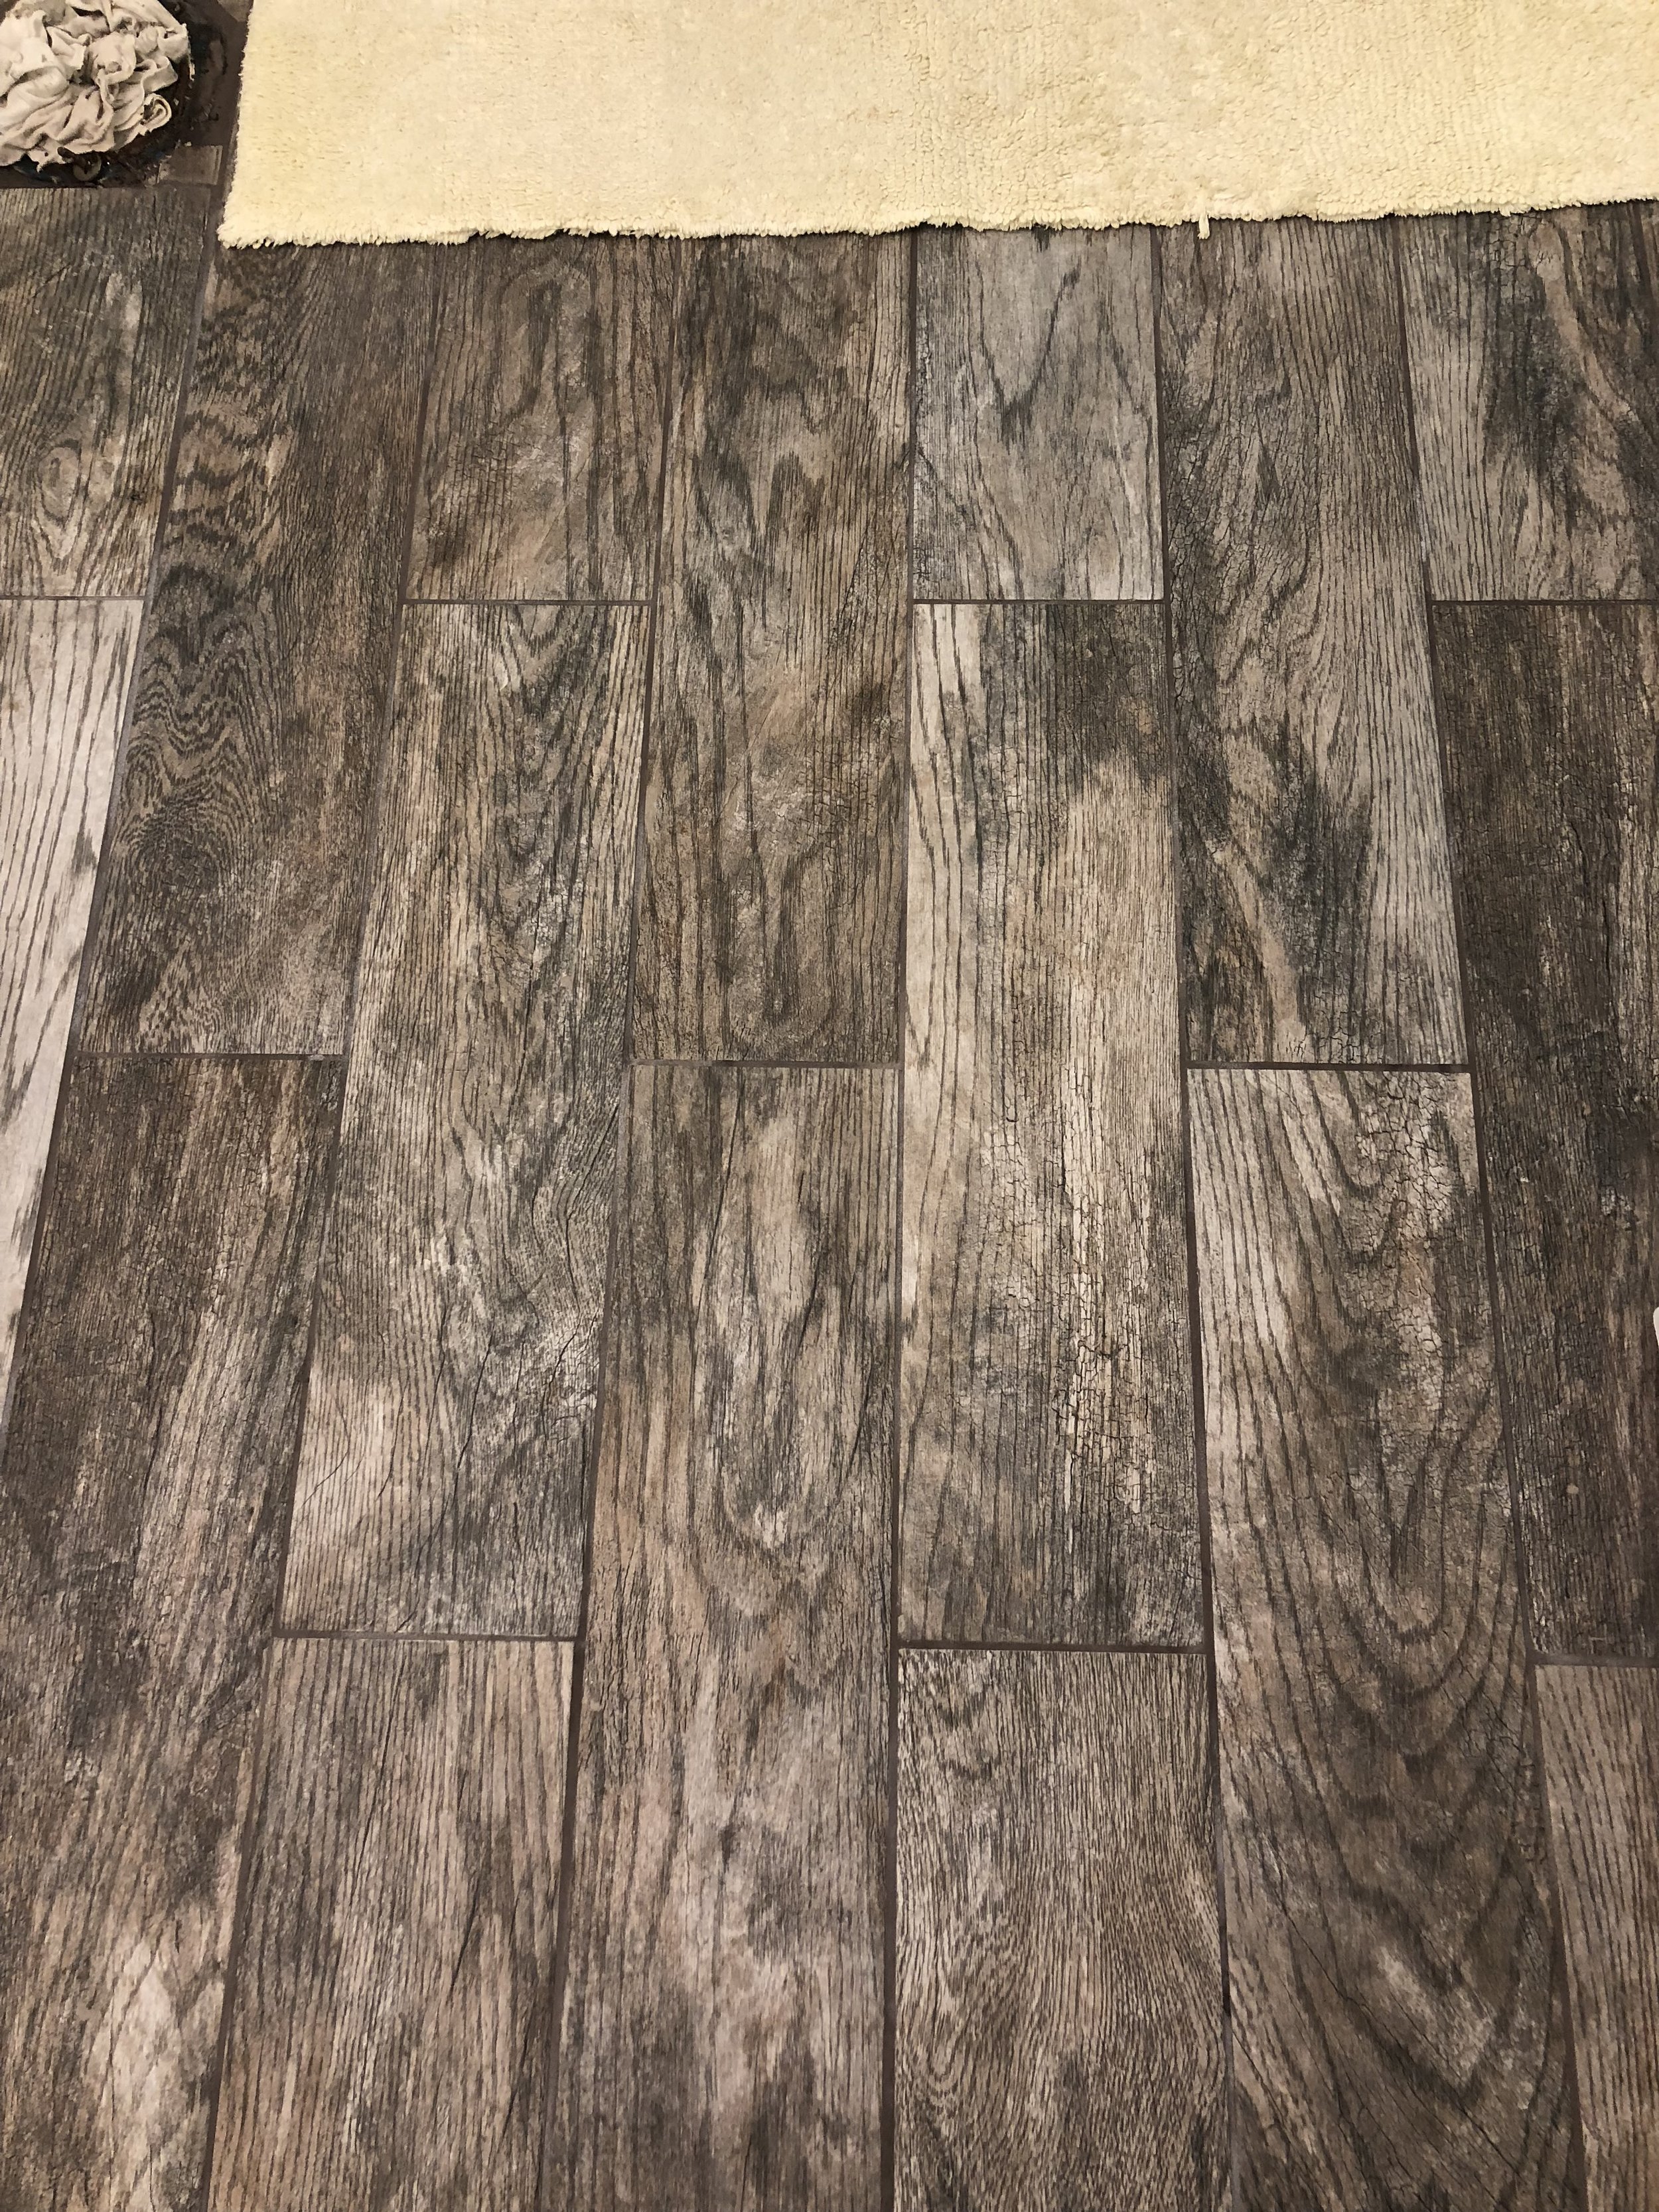
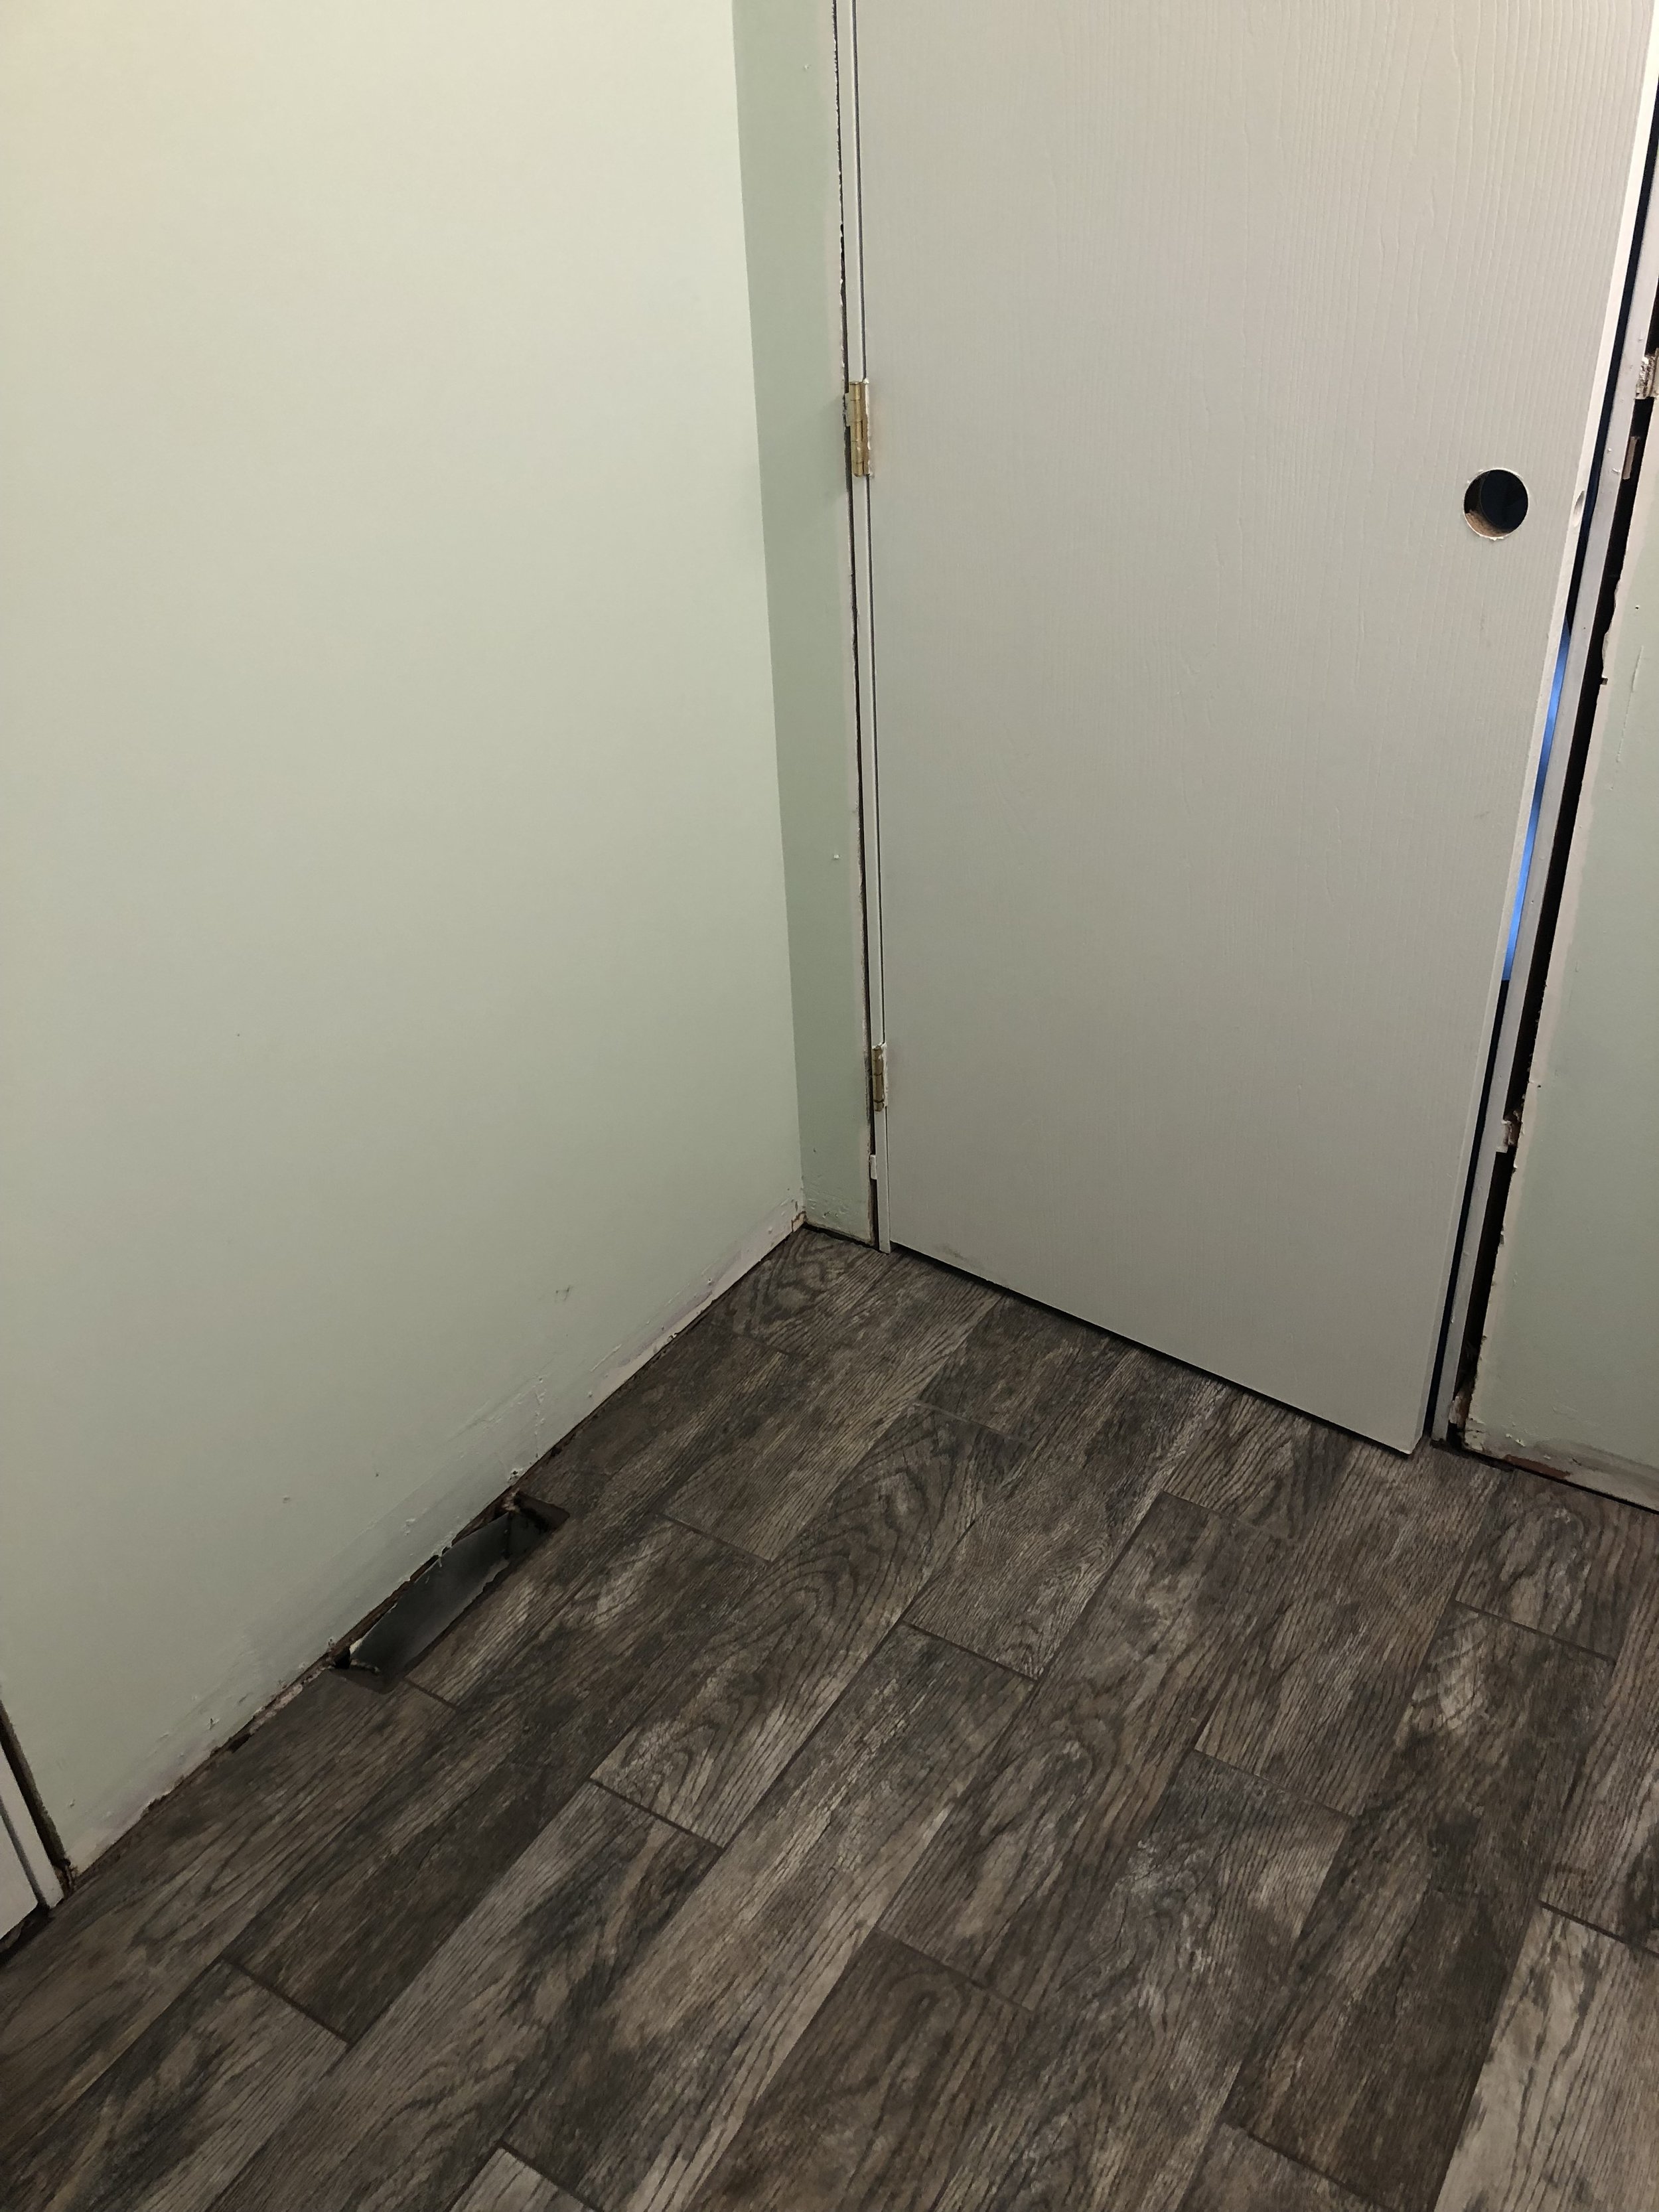
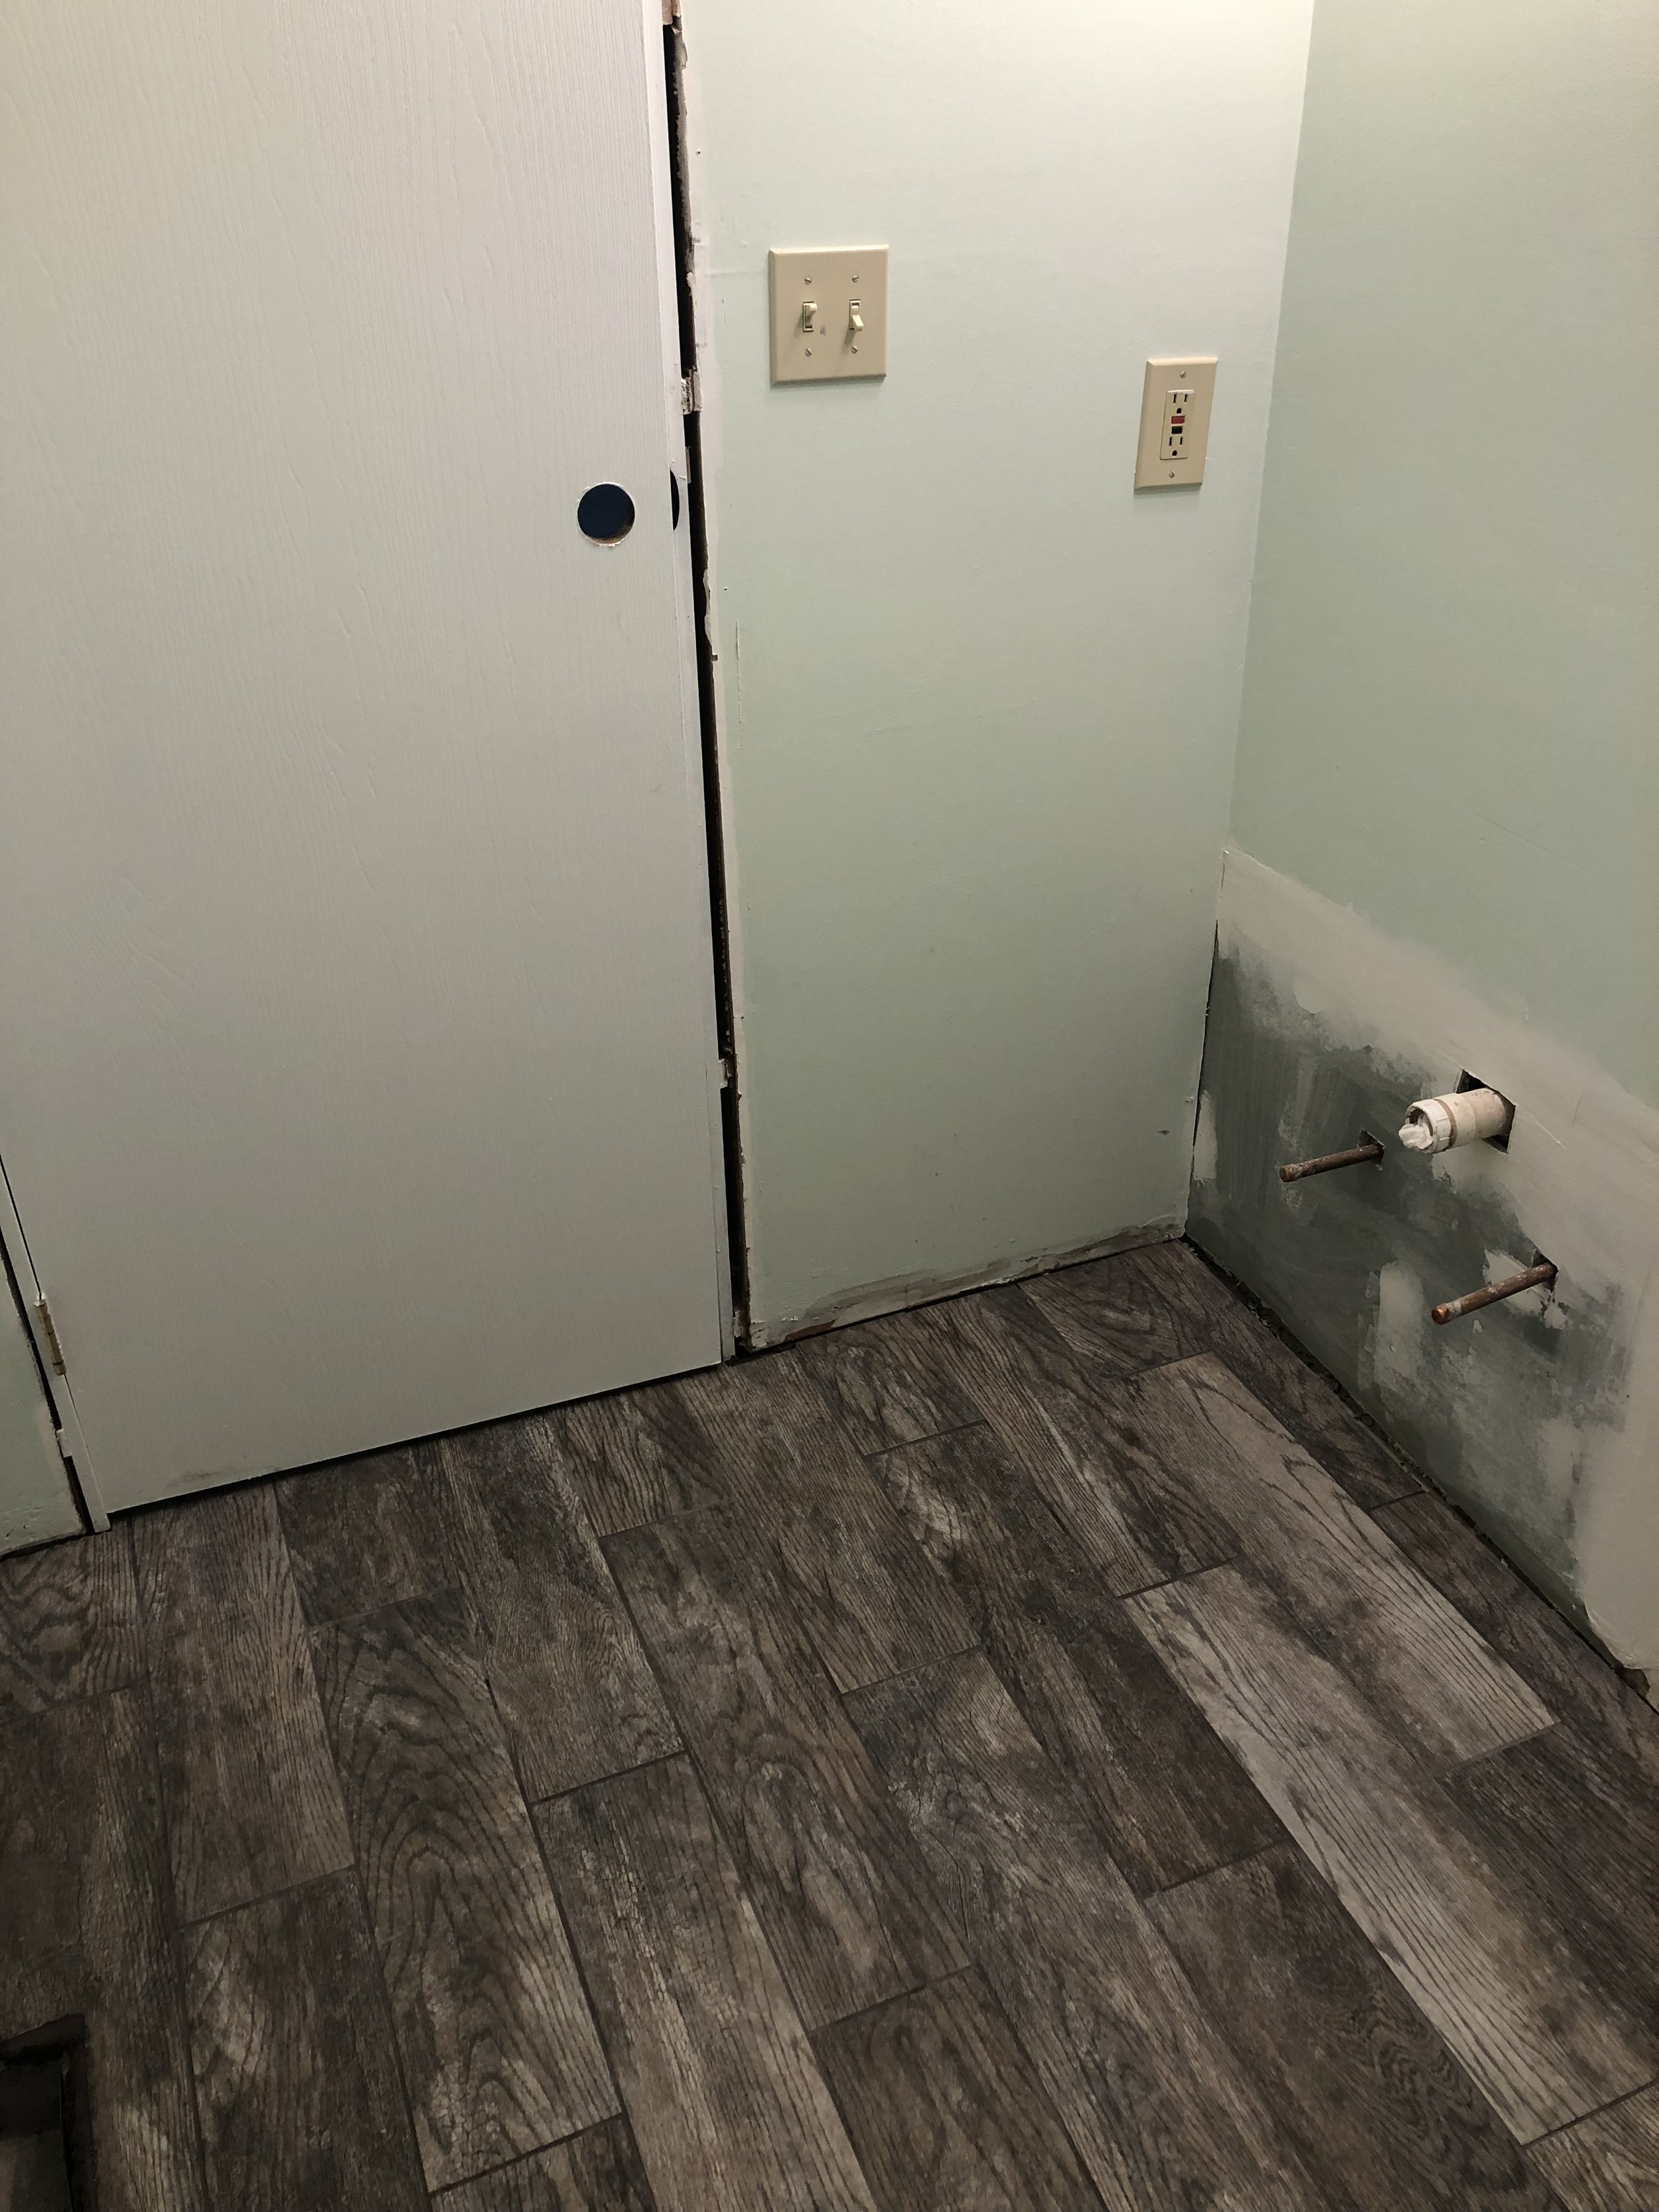
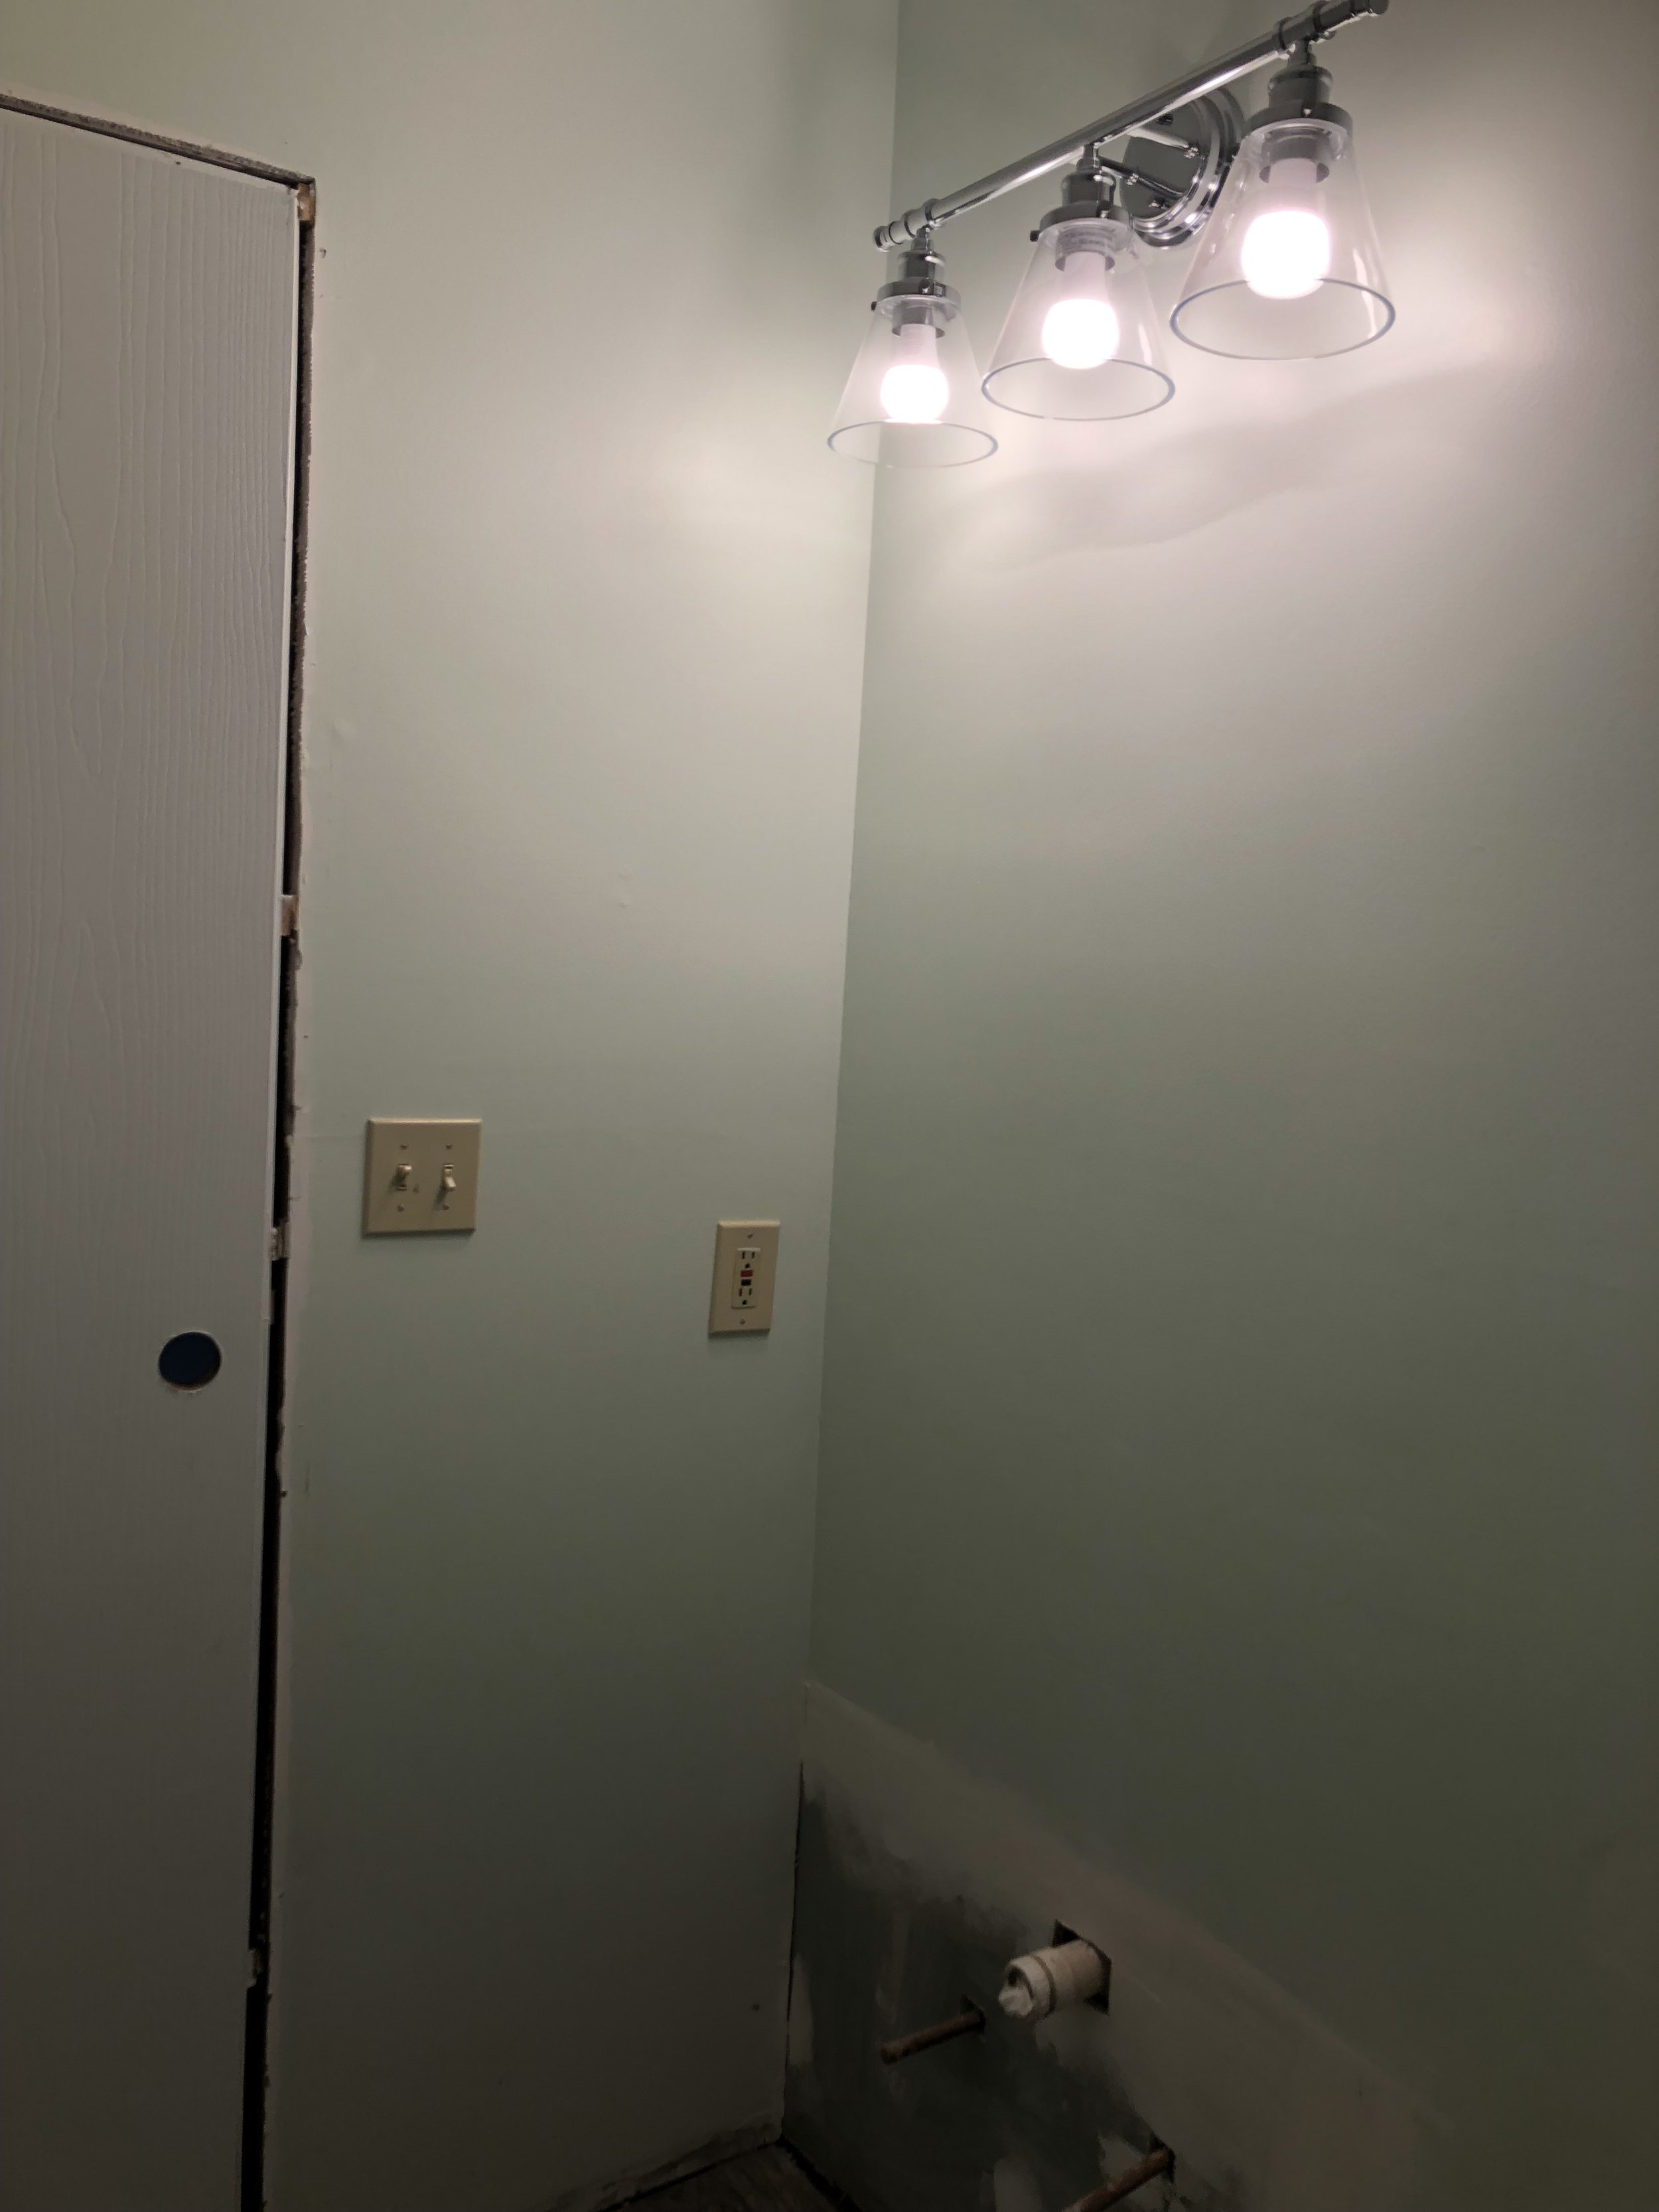
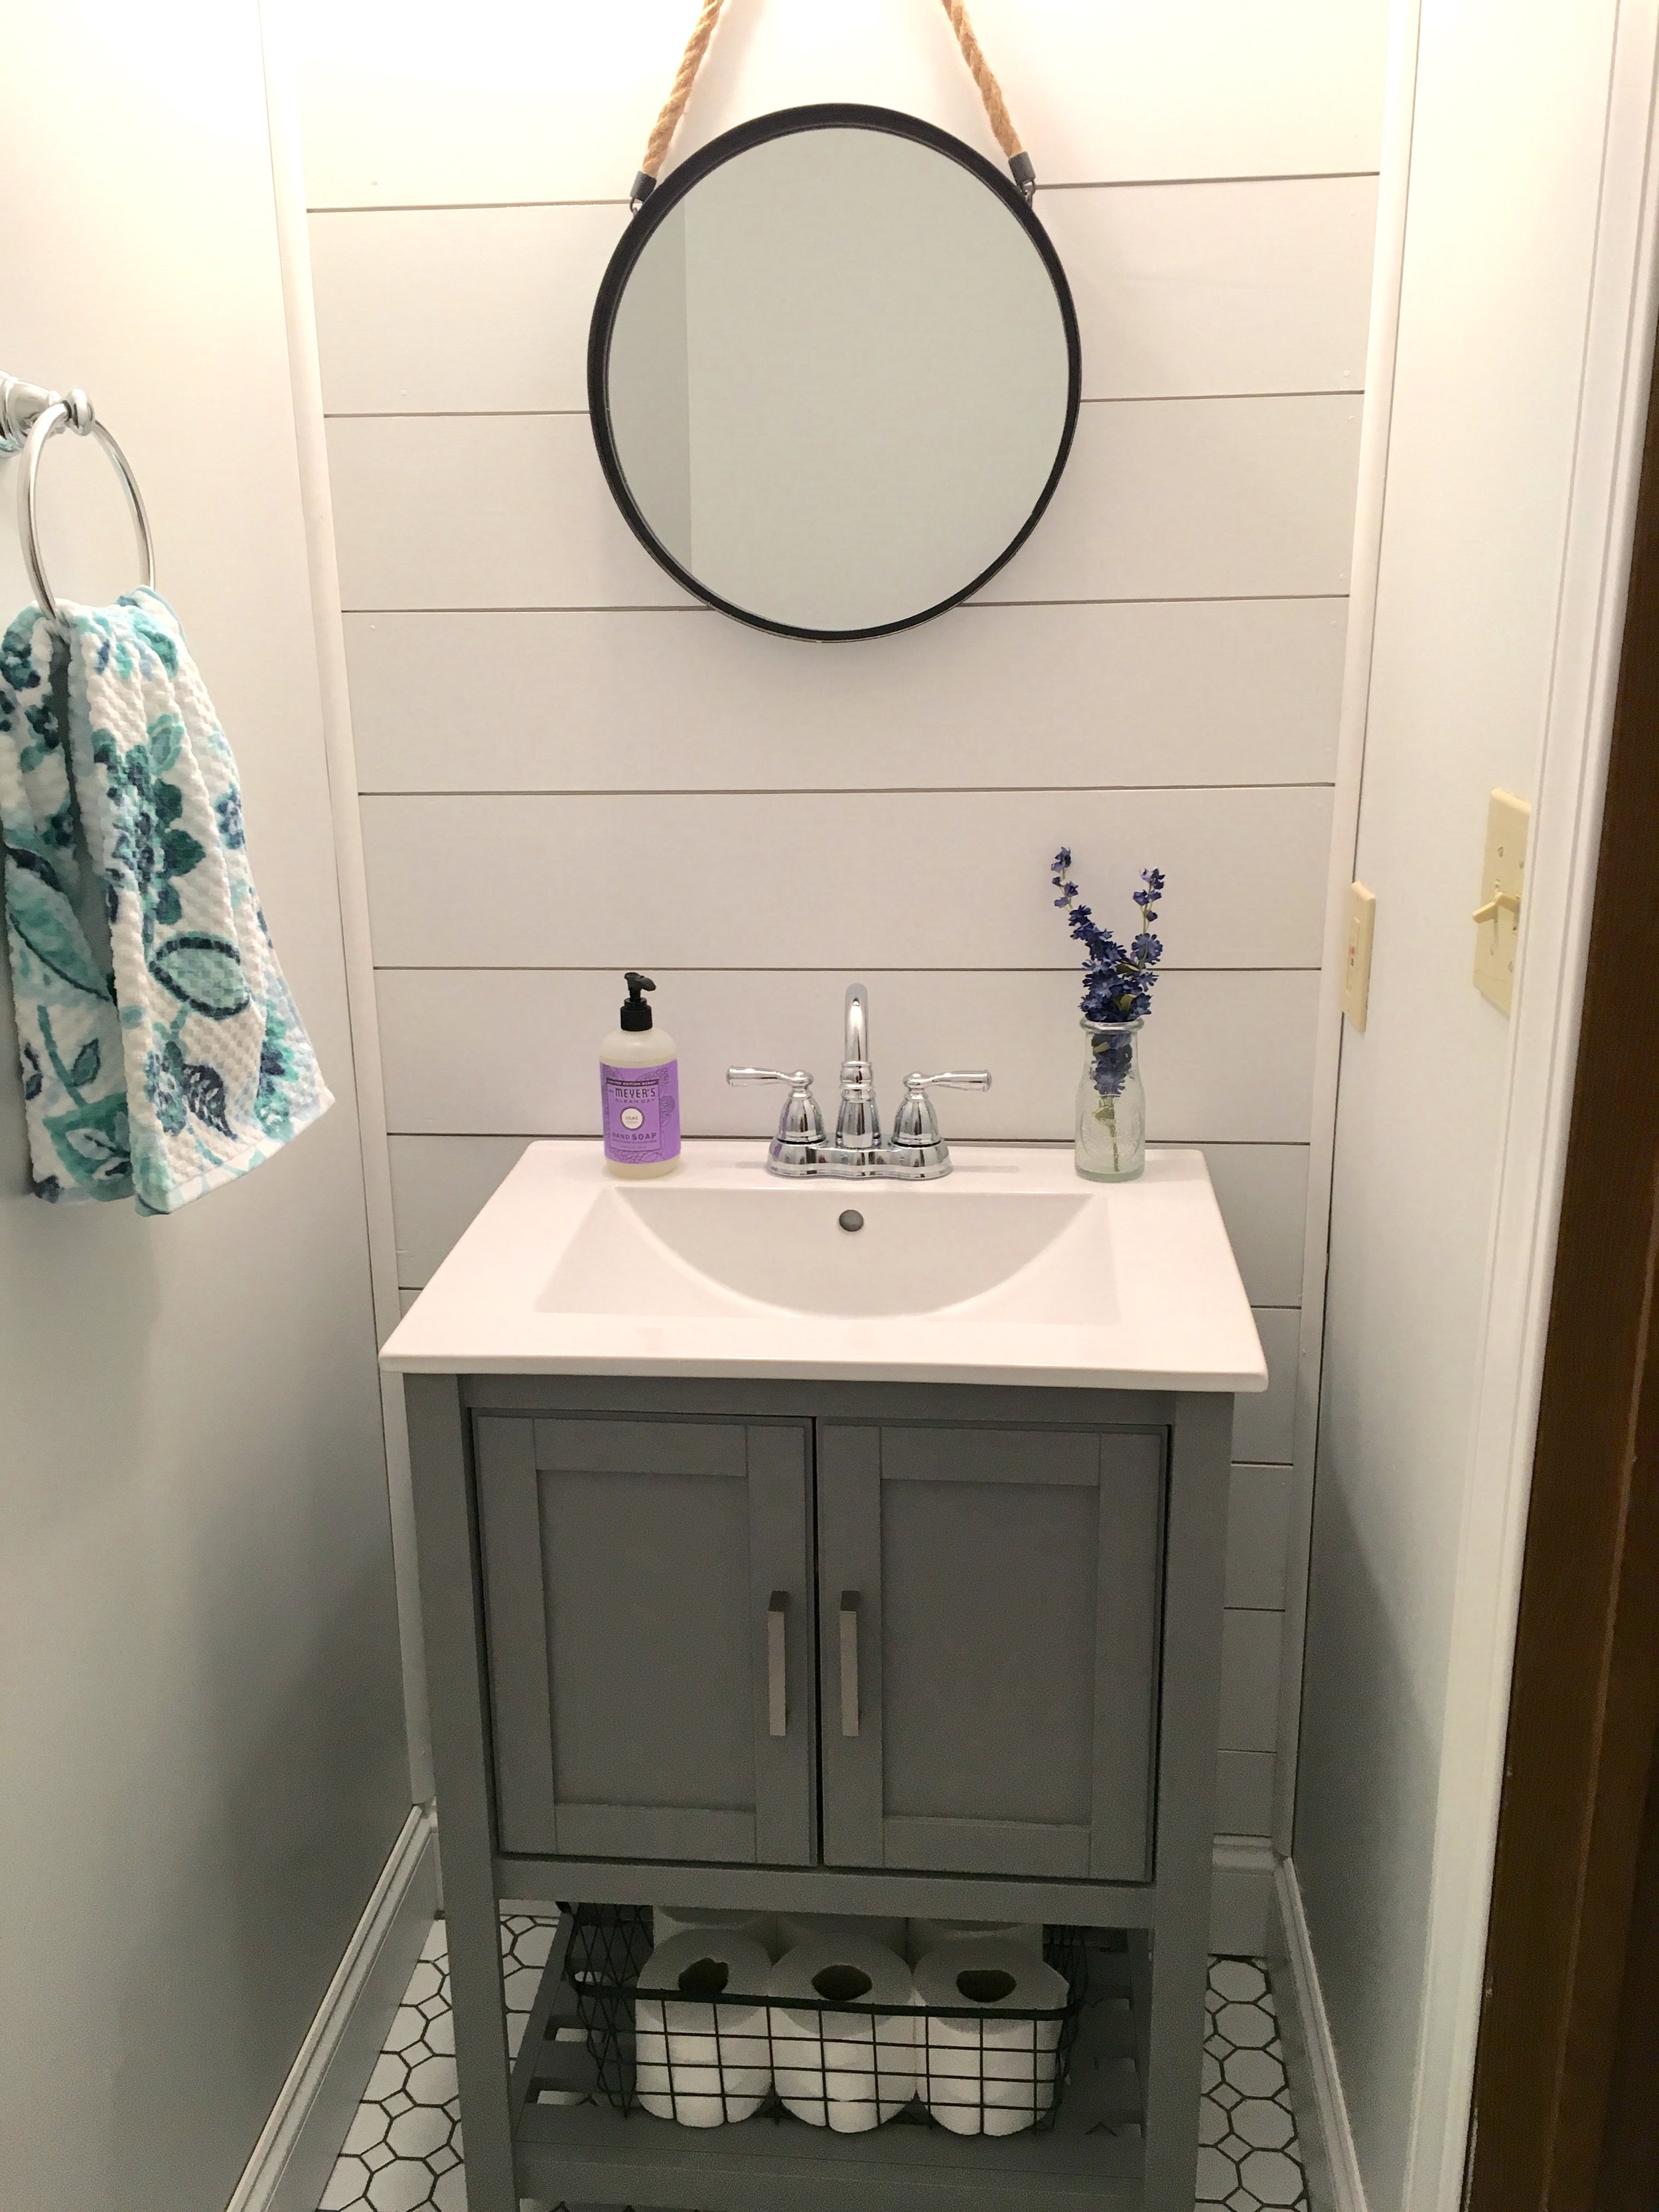
Our next steps would be adding the new trim, installing the new toilet and vanity, caulking around the tub, putting the door knobs back on, and adding the hooks to the wall behind the door. After that it's time to start decorating! We will be adding some shelves behind the toilet which I'm excited to style. I still have to pick out and purchase a mirror, so that's my mission. The one from my storyboard is no longer available at my Hobby Lobby and I'd rather not pay for the shipping to order it online. I still need to purchase the rugs and a toilet paper holders and then I think we will have everything we need for it. I love the way it's turning out!

I can't wait to share the after photos! 

Thanks for reading!


If you enjoyed this post, you should check out A Modern Farmhouse Bathroom-StoryboardBathroom Storyboard, and Bathroom Reveal 

An Easy DIY Thanksgiving Tablescape

Thanksgiving is almost here which means Thanksgiving dinner! I've put together an easy Thanksgiving tablescape that includes a fun Target dollar spot DIY. 

If you've seen my other fall posts you know my colors for fall this year are neutral blues, greens, greys, and creams. I love this color combination. So, I used those colors for the table. 

An Easy DIY Thanksgiving Tablescape

These little wreaths are so easy to make. All you need is some Target dollar spot garland and some scissors. 

You want to take the garland and cut off about 6 inches. 

An Easy DIY Thanksgiving Tablescape

Then you just take it and make it into a circle. Twist the wire to secure it. 

An Easy DIY Thanksgiving Tablescape

I hope you enjoyed this easy DIY. 

Thanks for reading! 

DIY Magnolia Wreath

This is one of my favorite DIY's that I've done. It was so easy and looks a lot like the more expensive wreaths you will find! I made this one for around $15. 

Here's what you'll need:

  • Natural wreath
  • Magnolia leaf garland
  • Glue gun
  • Scissors

Start with your wreath. I got mine from Hobby Lobby and it was around $5 I believe. There are different sizes so you can choose whichever size you want. I don't remember the exact size I got but it was a normal wreath size, comparable to other magnolia wreaths. 

From here you want to take your magnolia leaf garland and start pulling leaves off. 

Next you take your glue gun and place a dot anywhere on the wreath and attach the leaves. 

You want to keep repeating this and your wreath will begin to look like this. 

You wan all of the leaves to be going in the same direction. You can either glue the new leaves on top of the previous ones or under them. It doesn't matter really. As long as they are all going in the same direction and are layered. You don't want to see the stem part of the leaf, so as long as that is covered you're good. 

Once all of your leaves are glued on, go back and cut off any stick pieces that are showing. 

That's it! You now have a Magnolia Wreath for under $20!

There are so many different ways to style these wreaths, too. I hung mine from an old screen that I had found and painted white. 

I hope you enjoyed this tutorial! Let me know in the comments if you enjoy these DIY's and I will try to post more of them!

Thanks for reading!  

Shiplap Tutorial

I am so excited to write this post because it's about SHIPLAP! I love shiplap and was so excited when we decided to put some in our half bath remodel. I told you when I shared our after photos that I would do a tutorial so here it is! We are not experts and this was our first time doing it but I wanted to share with you all how we did it and show you that you can do it too! Enjoy!


First off you want to measure the wall that you will be installing the shiplap on. You want to measure the height and width. Once you have those measurements it's time to head to the store. We used a plywood that was 5 mm thick but you could really use whatever. We wanted our boards to be cut into 6 in. wide strips so that each plank was 6 in. They will cut it for you at Home Depot, which is a huge help. We also had them cut the board down to about 4 ft. long. So we left with boards measuring 6 in x 4 ft. 

Once we got home we cut those stips down even more to the correct length, I believe ours were about 3 feet long. Once you have the strips cut down to the correct size, it's time to sand. 

You want to sand down the edges to make them as smooth as possible. 

Next it's time to nail them up!

We didn't have a nail gun to use so we did it the old fashion way. By hand. We tried using spacers to make the space in between the boards even, but they kept falling out. I've seen where some people use quarters as spacers, whatever works for you. We were able to kind of eye ball the spaces to make them even. 

I started off doing some and I had big ambitions. I thought, I can nail a few boards to the wall. Easy. 

Not easy. It's hard nailing them each by hand. My first tip would be to get a nail gun. It would go a lot quicker and you will be a lot less frustrated. 

So after I nailed a few in, I handed the hammer over to John. 


When you are nailing the boards to the wall you want to be nailing into the studs. You can use a stud finder or just knock on the wall to find them. Nailing them into the studs will make the boards more secure to the wall. 

We were doing our wall in the half bath that had the light fixture and plumbing so we needed to cut holes out for those. 

Once everything is nailed up, it's time to fill in the nail holes. We used a wood filler from Home Depot and it was easy and dried quickly. Once that's dry you want to sand that down so that it's smooth. 


After sanding it's time to paint! We painted ours white. I believe the color was Extra White by Sherwin Williams. 

The final steps would then be to add your baseboards and the quarter round in the corners and you are done! 

Here is the final product! I am so happy with the way it turned out! It was a lot of work, and we did a small wall, but it was worth it. I am now thinking of other places we can install some shiplap in our home! :) 

I hope this tutorial was helpful and not too confusing. Like I said before, this was our first time doing it and we are not experts. I just wanted to share with you all how we did it and give you a little step by step if you are interested in installing some shiplap of your own!

Thanks for reading!